Filter functions
 Updated
by Andreas Knaupp
Updated
by Andreas Knaupp
The function of using filters is explained here using the “Measurements” menu as an example, but works identically on all levels of the backend. Filter criteria are included when creating customized views and are therefore additionally saved along with them.
Filters can be set to display only data with certain parameters in the backend. It is possible to apply just one specific filter or several filters in combination. We would like to explain both below using the example of "Measurements".
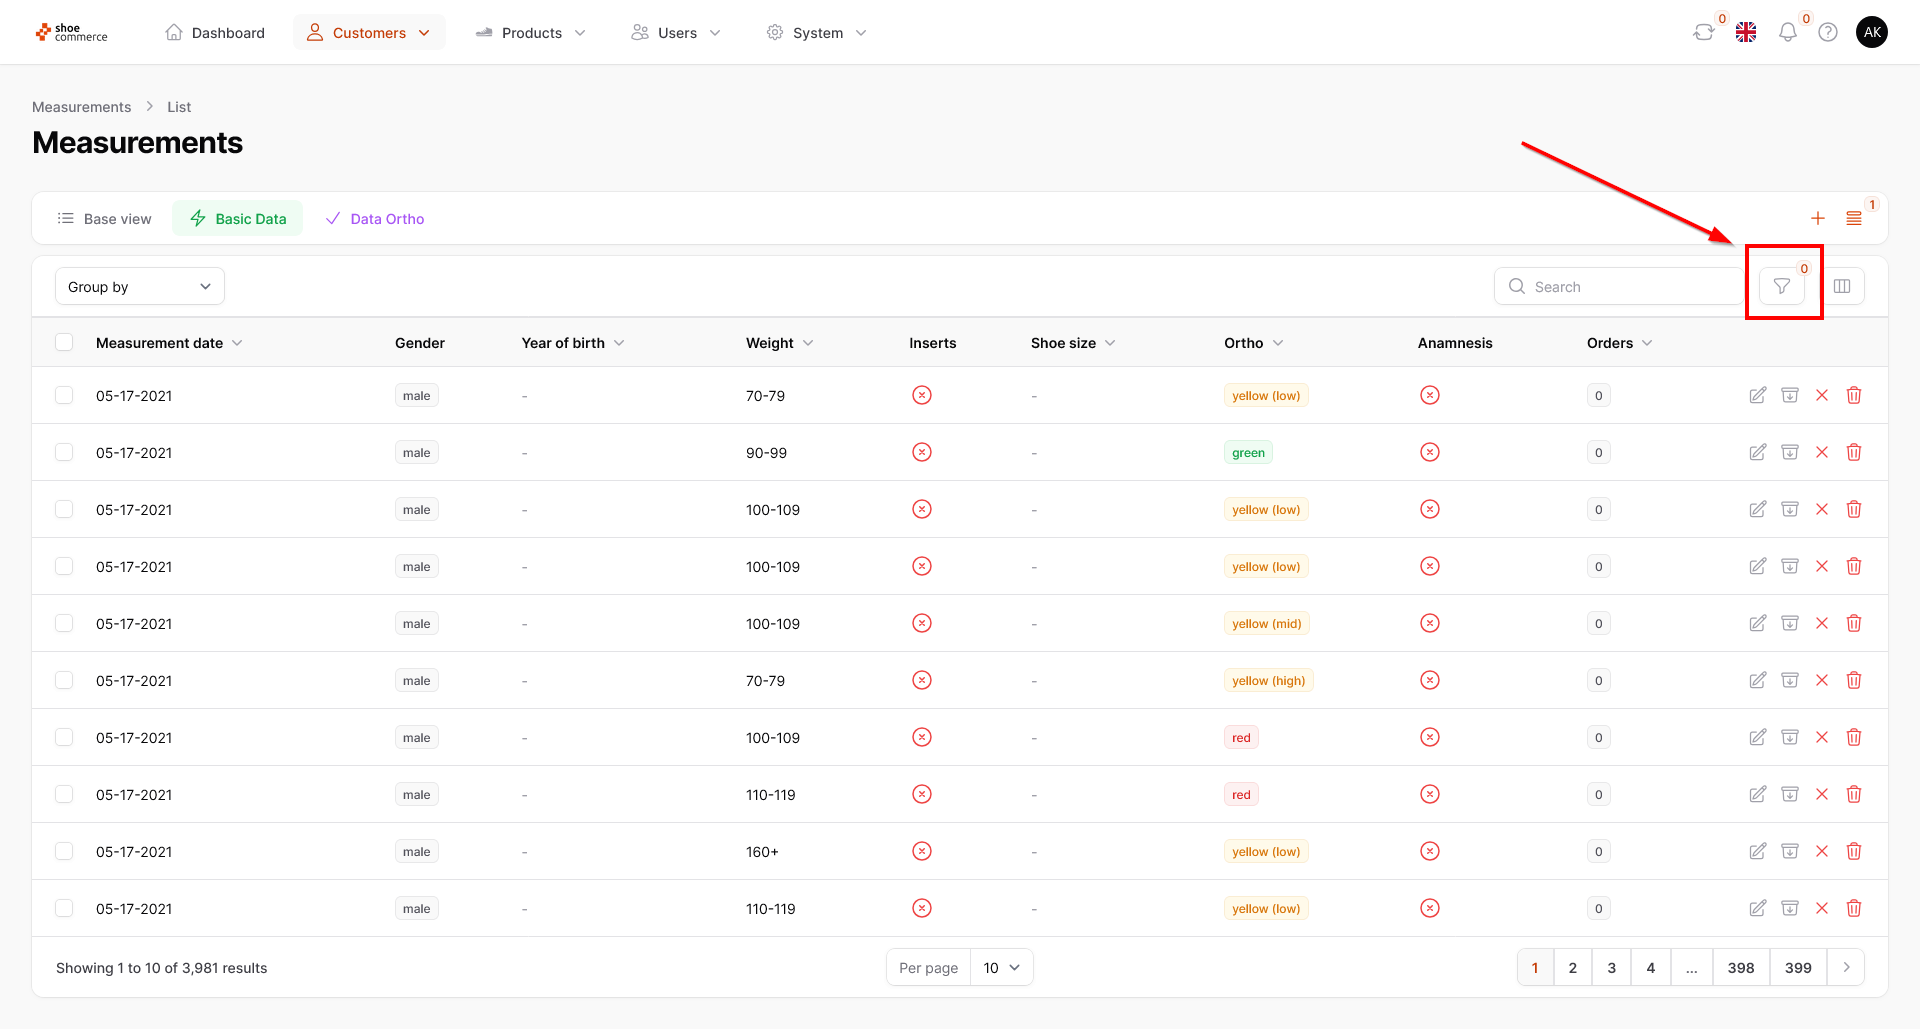
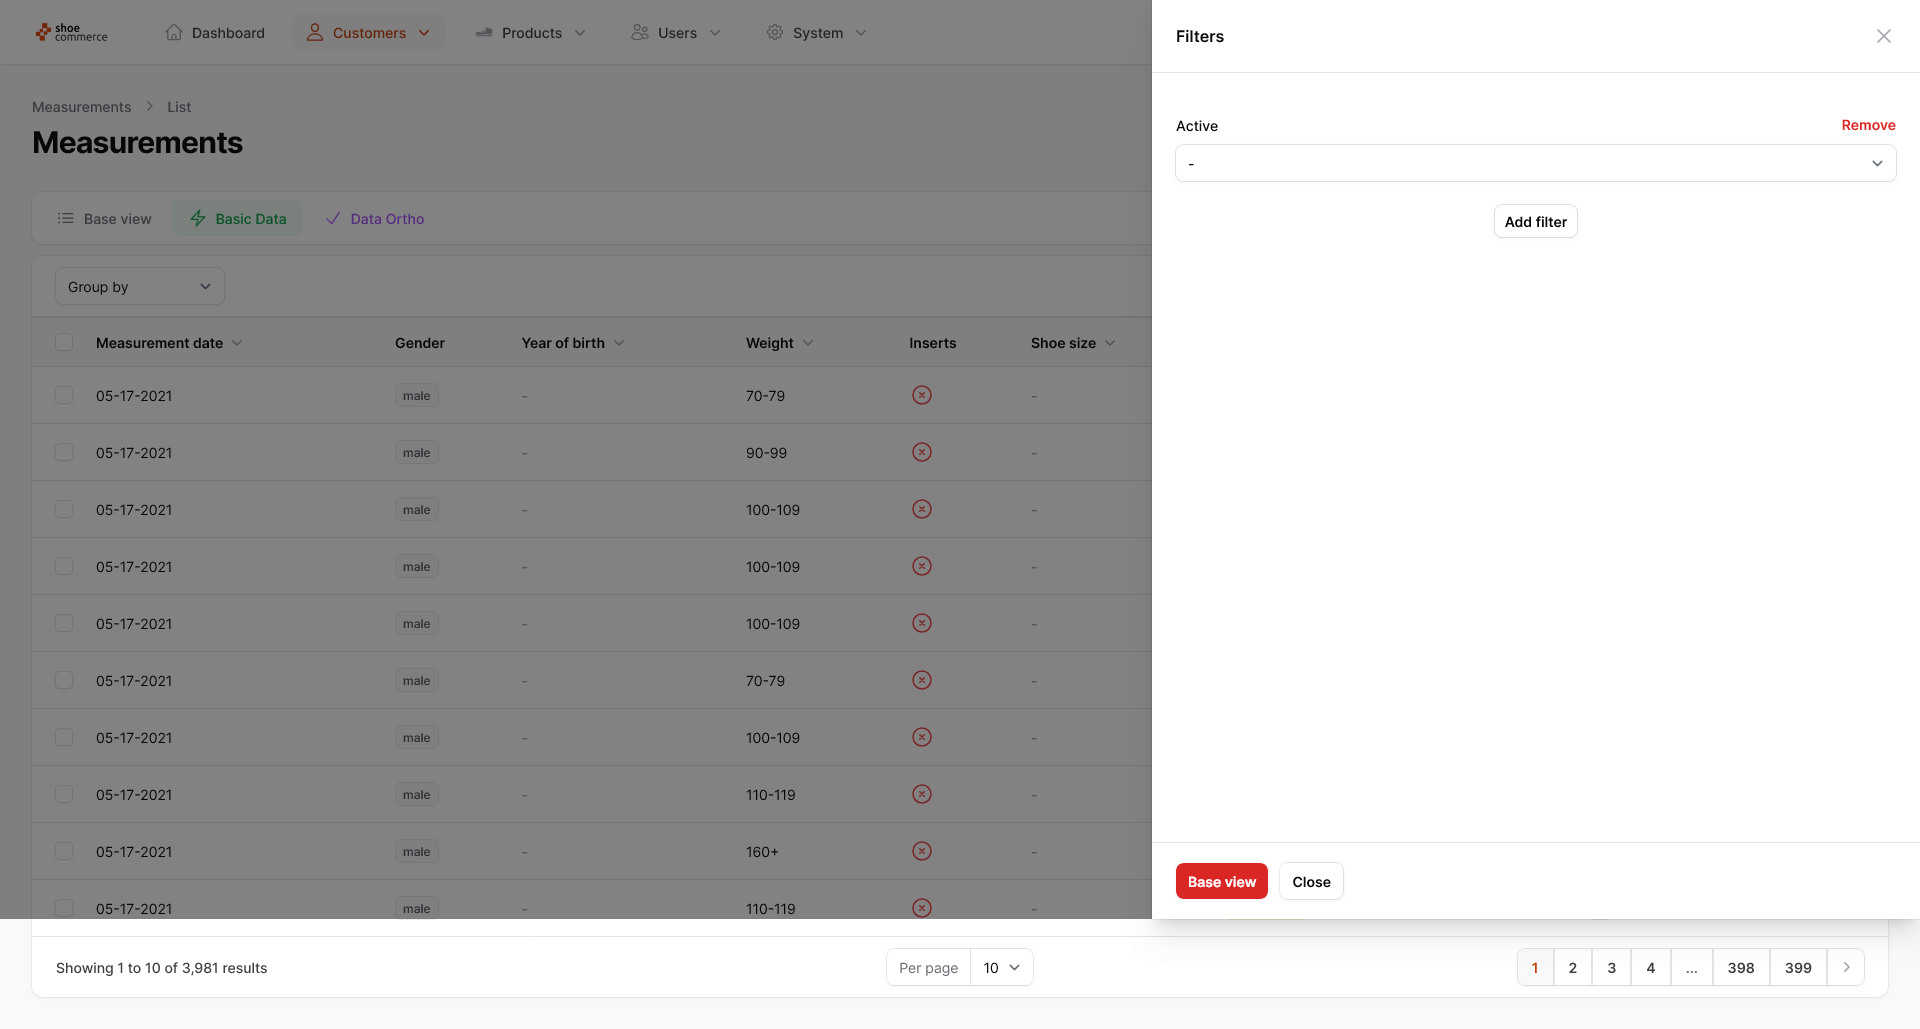
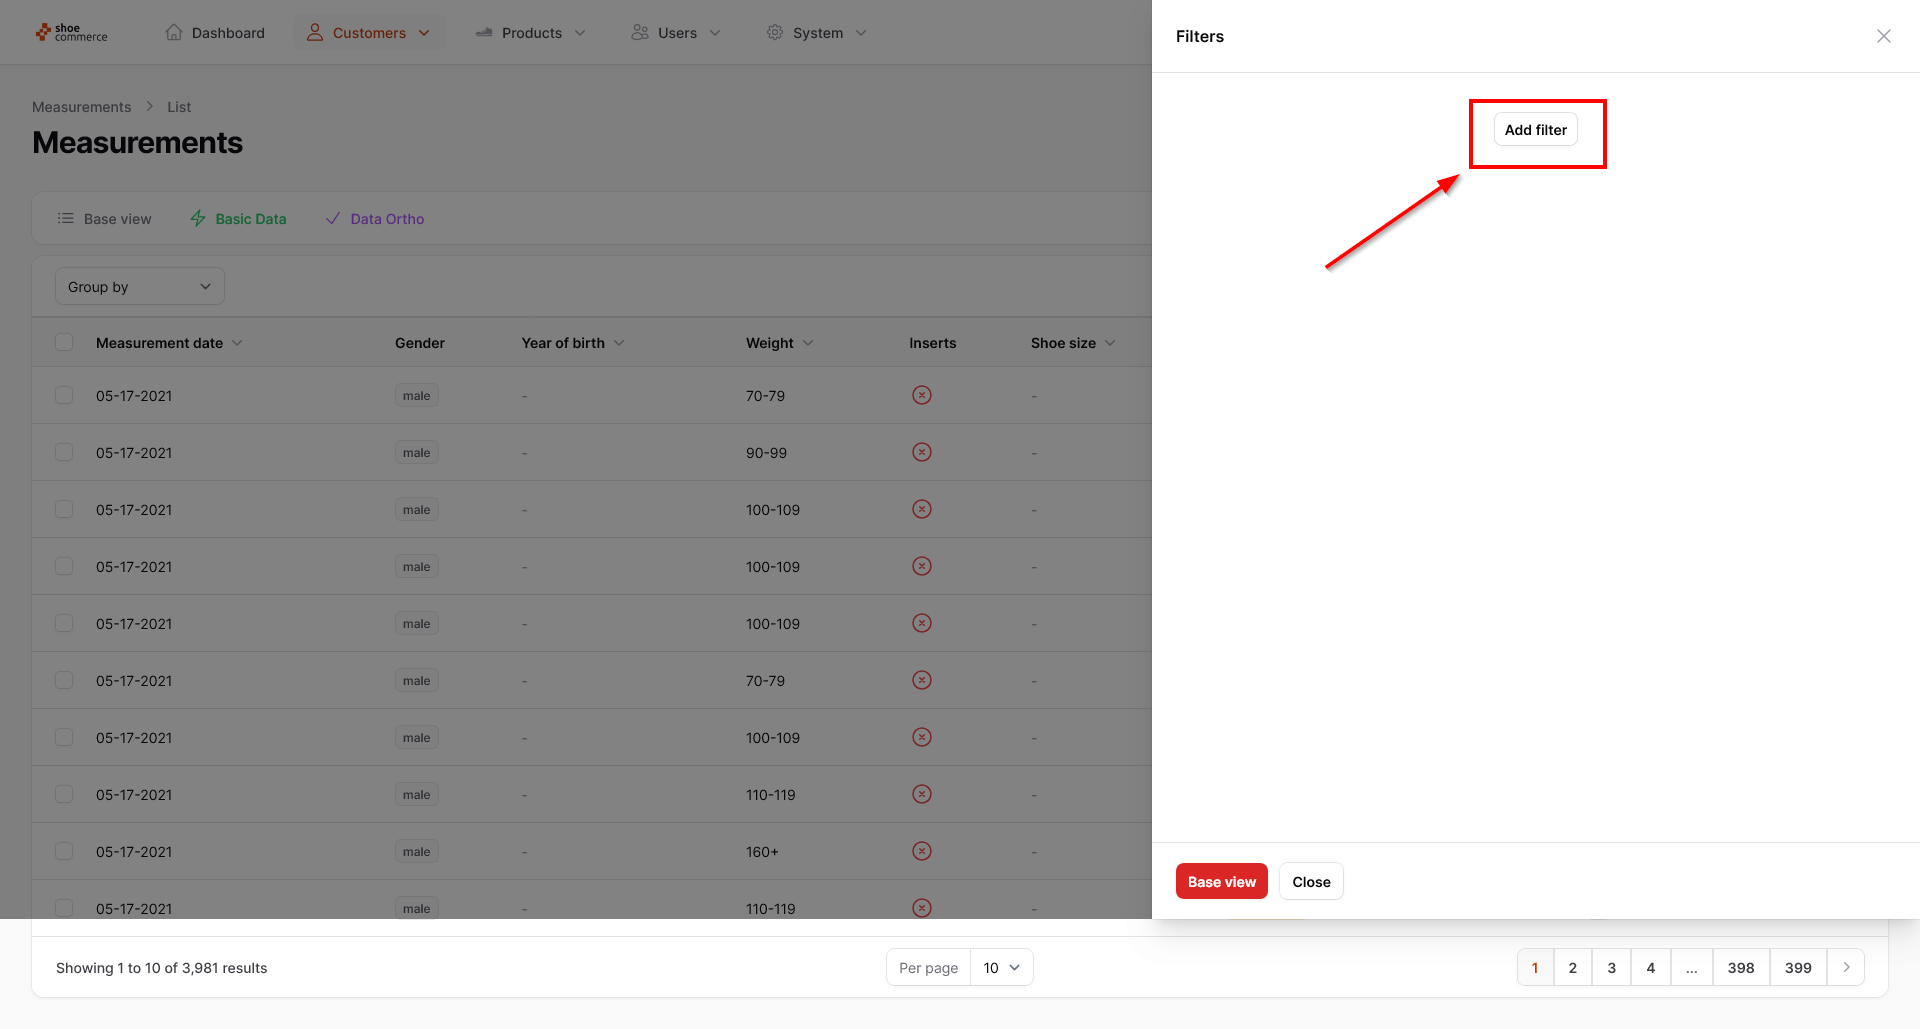
- To access the filter menu, please click on the corresponding symbol in the top right-hand corner of the backend.
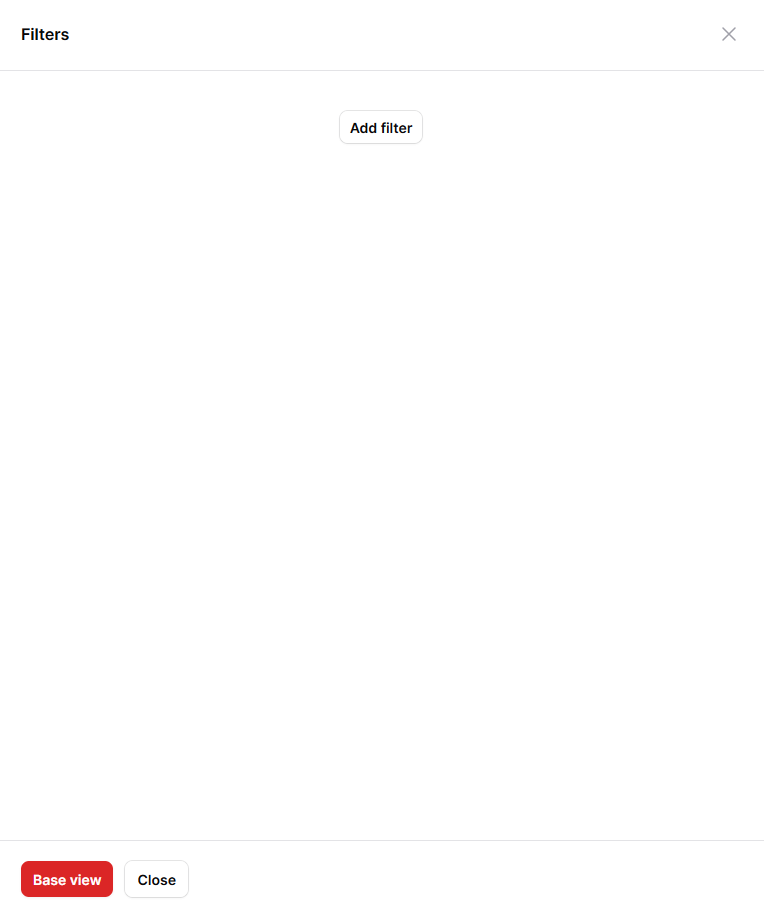
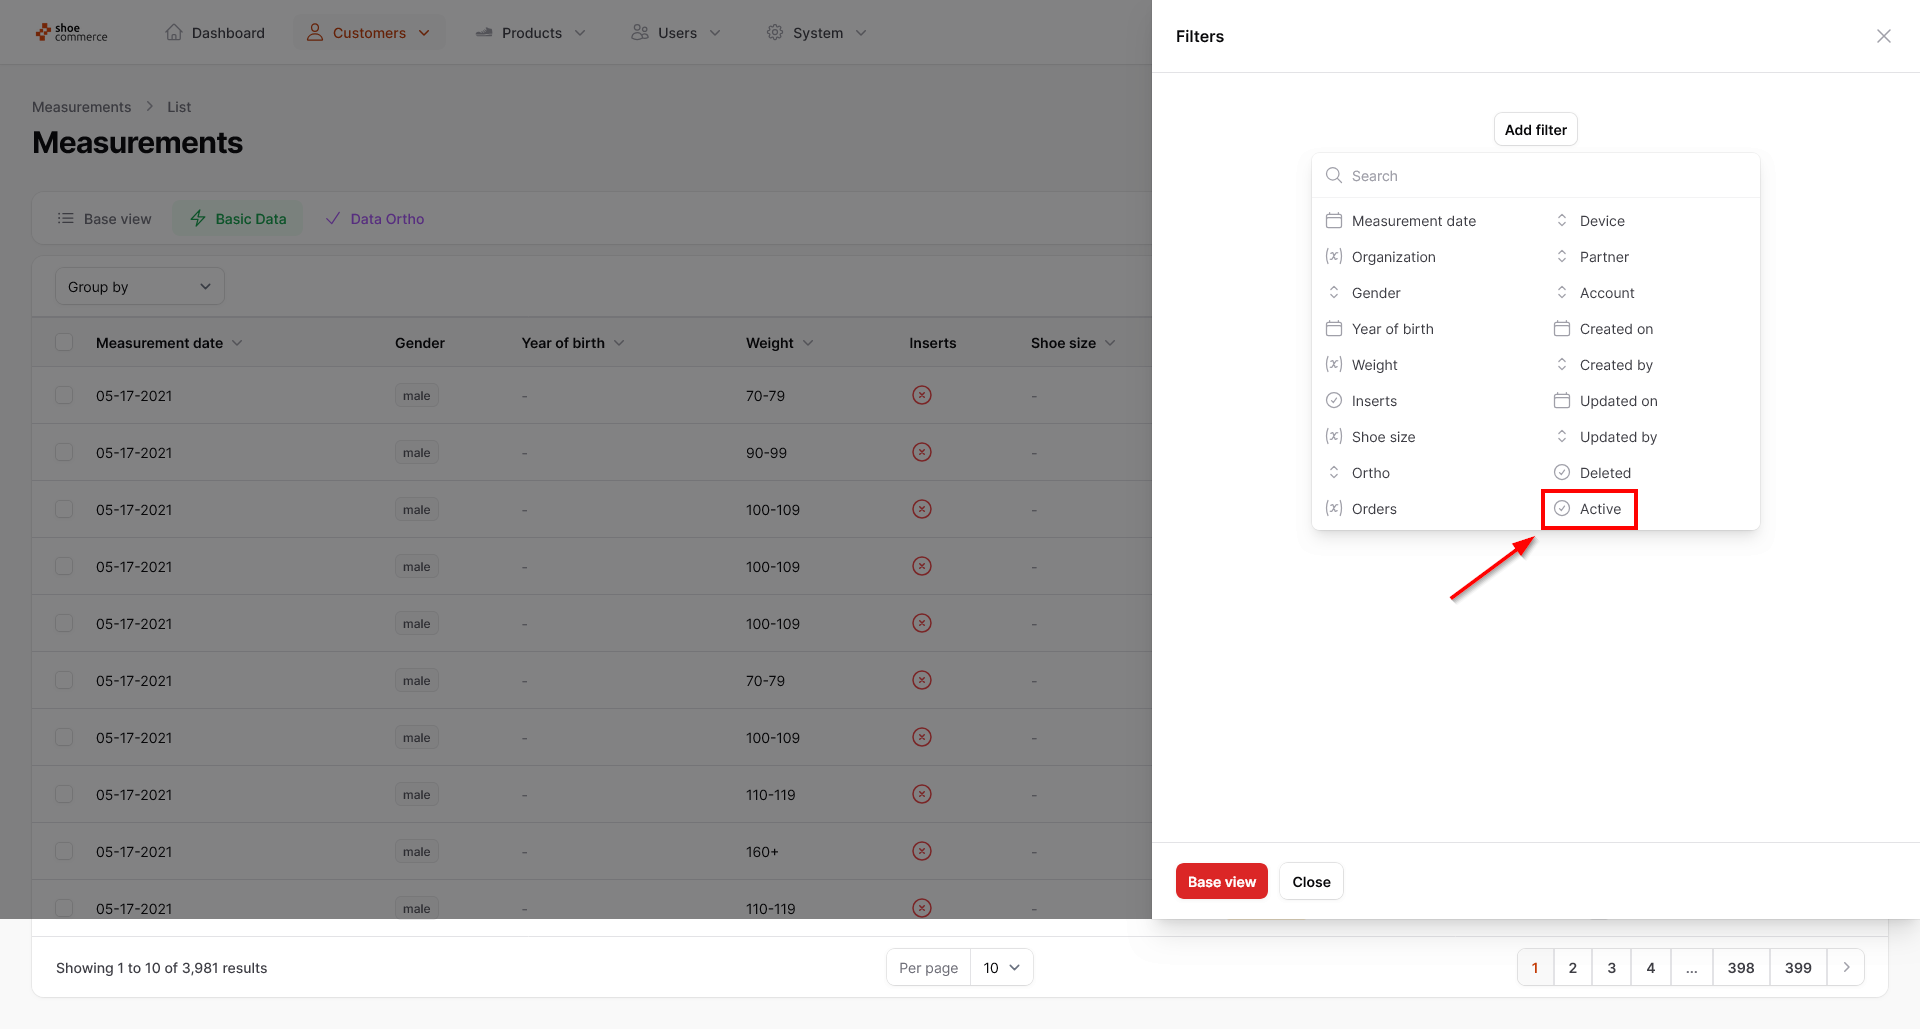
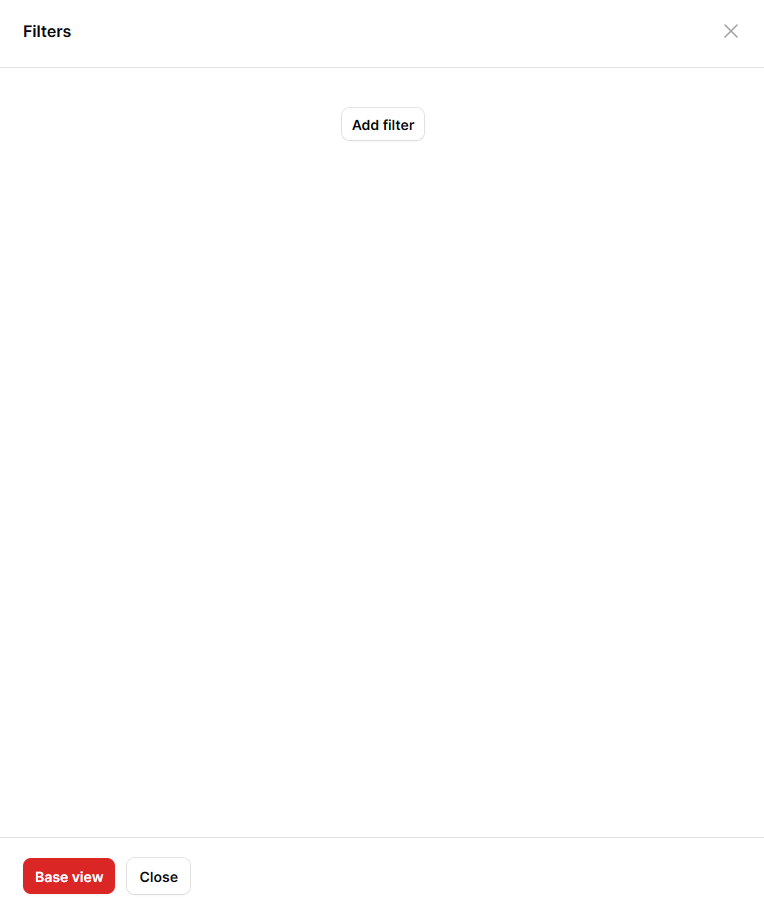
- The filter menu then opens on the right-hand side, in which you will initially only see the “Add filter” button. For example, to display only deactivated data records in the list view, first click on “Add filter”, whereupon all filter options will open. Select “Active” here.

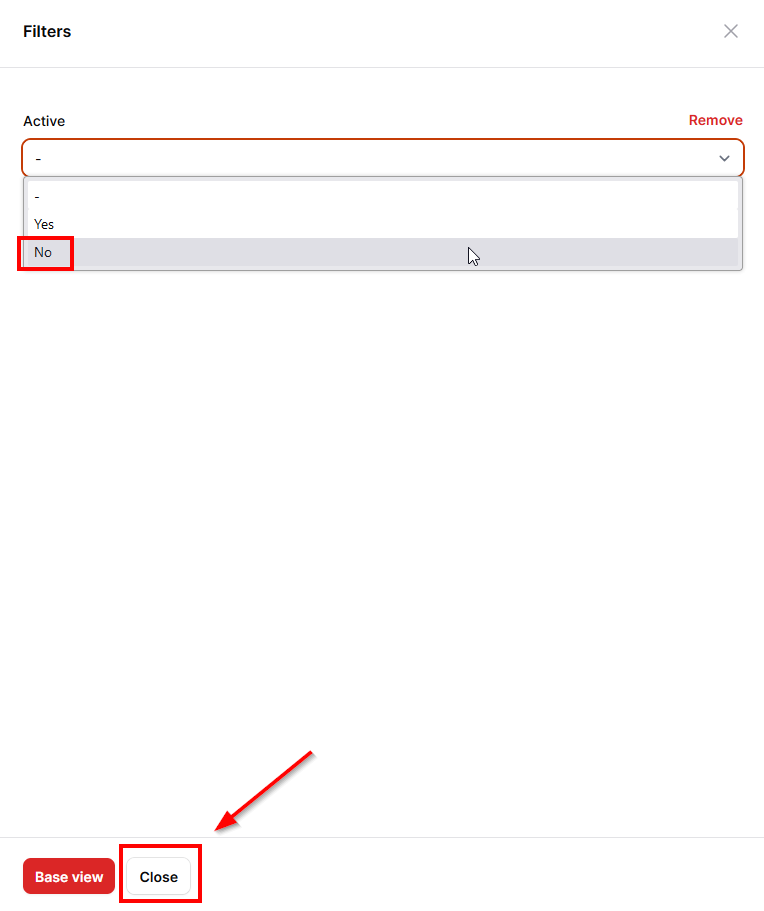
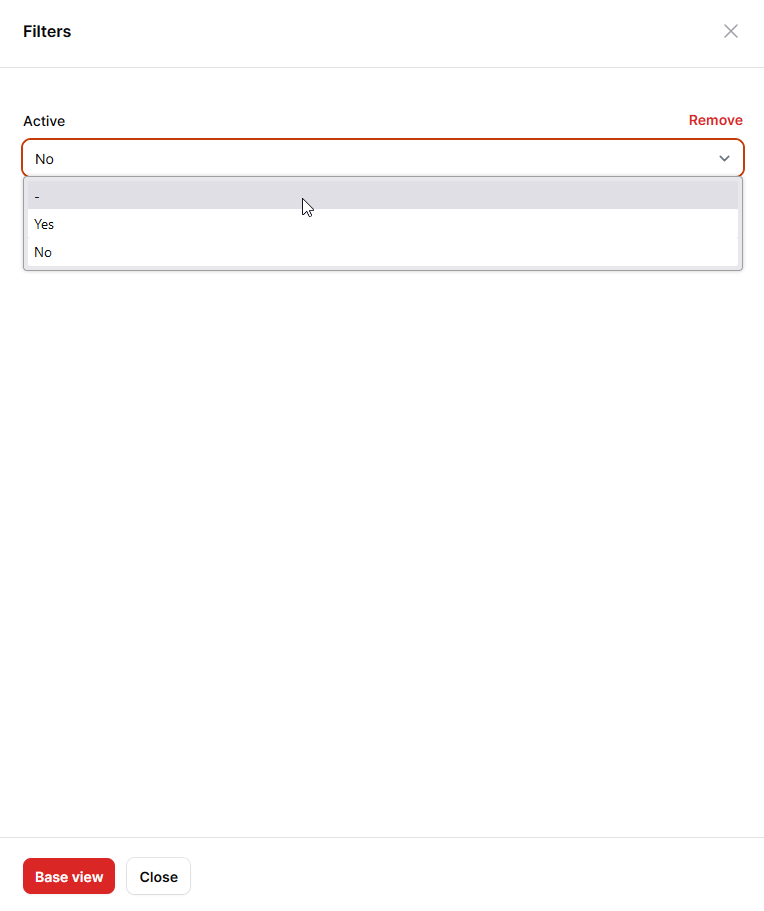
- The “Active” filter is now displayed as a drop-down menu. Please select “No” here and then confirm your selection by clicking on “Close”.
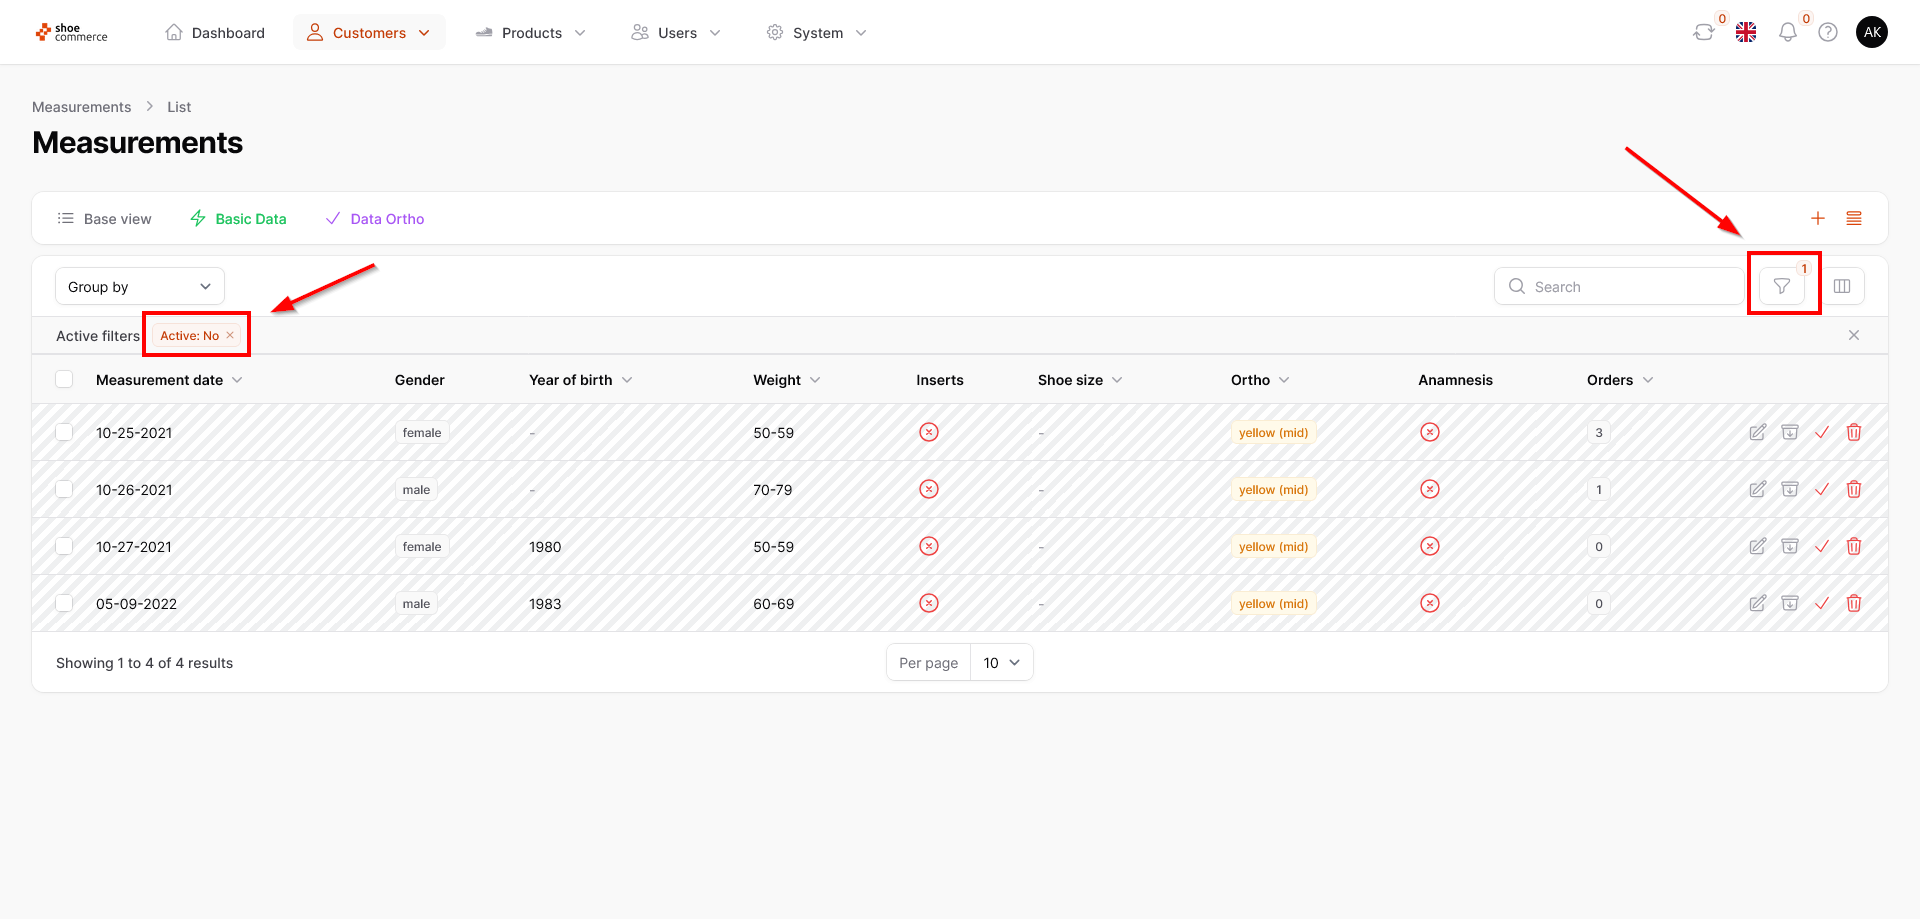
- The backend now only shows you all deactivated measurements, recognizable by the grey shading of the data records. The set filter now appears under “Active filters”, in this case “Active: No”. Furthermore, a red “1” is displayed in the filter menu, which means that a filter is currently active.
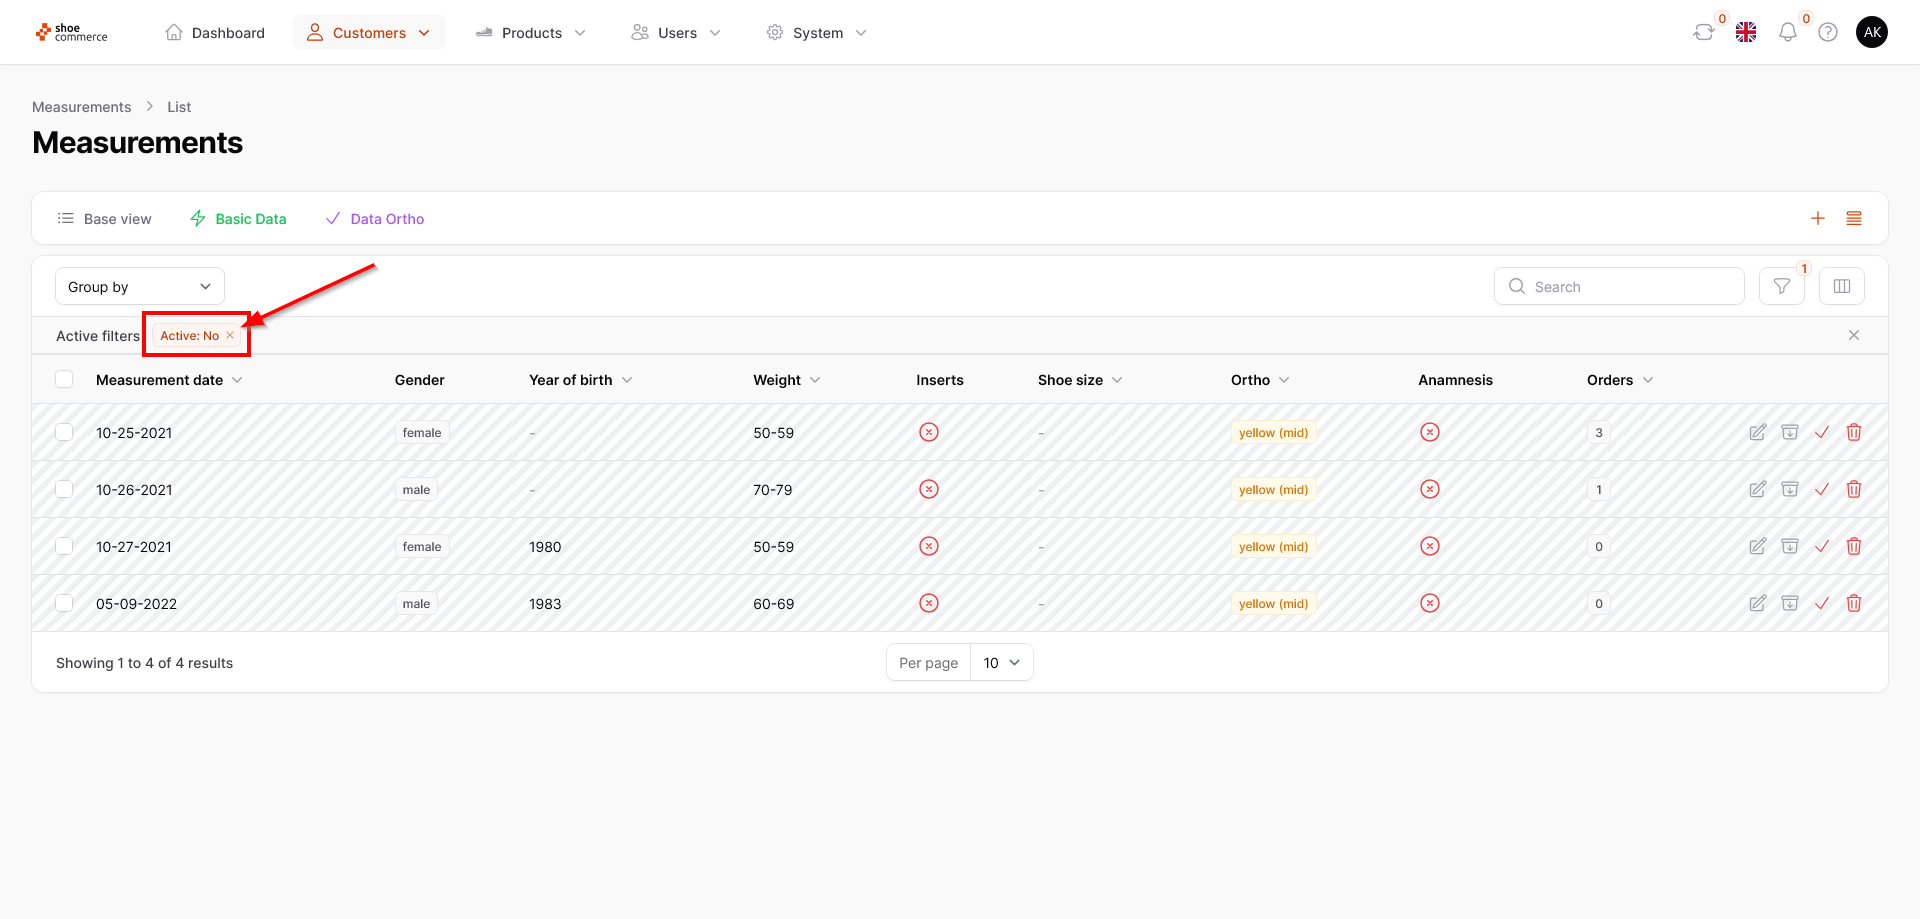
To deactivate the filter again (filter criterion remains in the menu) or to remove it completely, you have the following options:
- Please click on the “x” in the “Active filters” section for the filter you wish to deactivate or
- Click on the filter menu again and choose “-” under Active. This means that both active and deactivated data records are displayed again in the backend, but the filter criterion as such is still available.
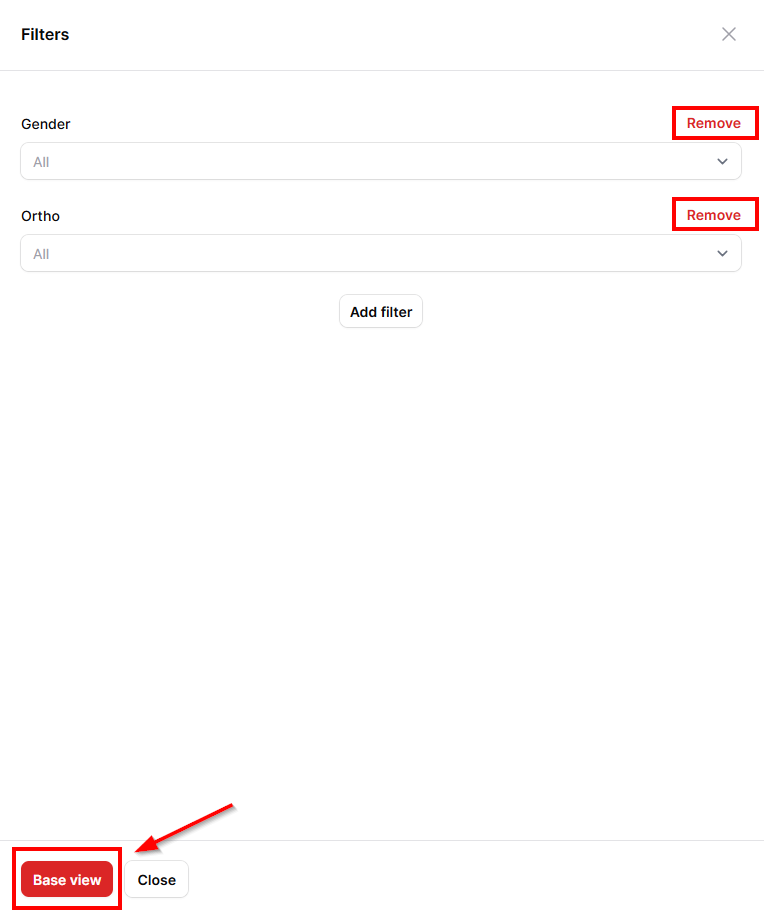
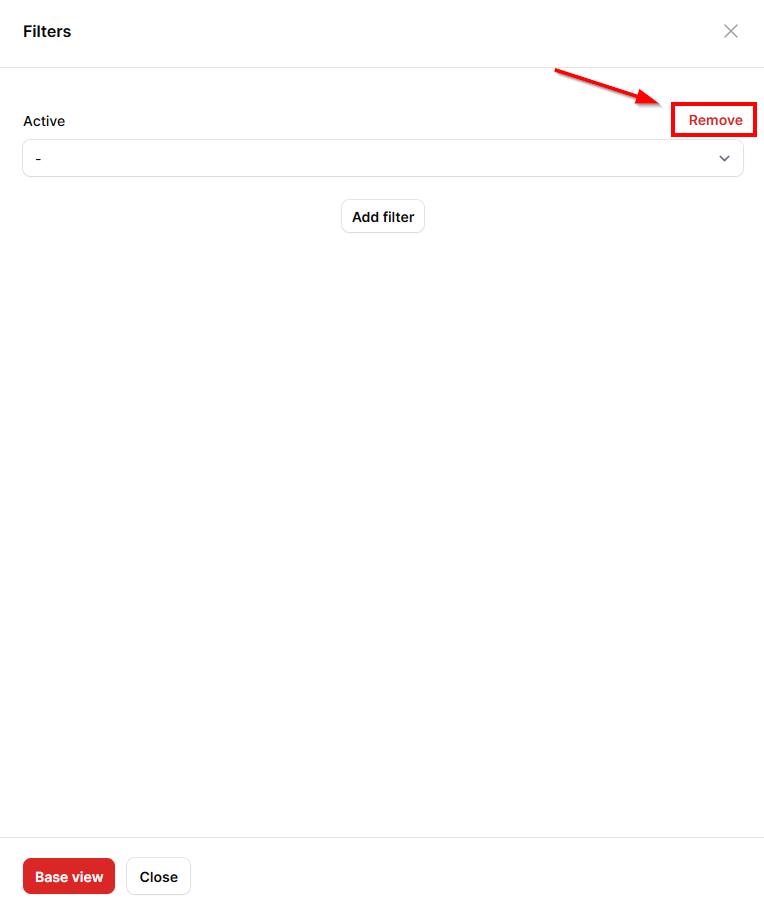
- If you want to delete the filter criterion completely, please click on “Remove”. In this case, the filter menu appears again without any filter criteria listed.
Please note: Clicking on the “Basic view” button deletes all the filters you have set up in the corresponding menu (here: Measurements) and does not just deactivate them!
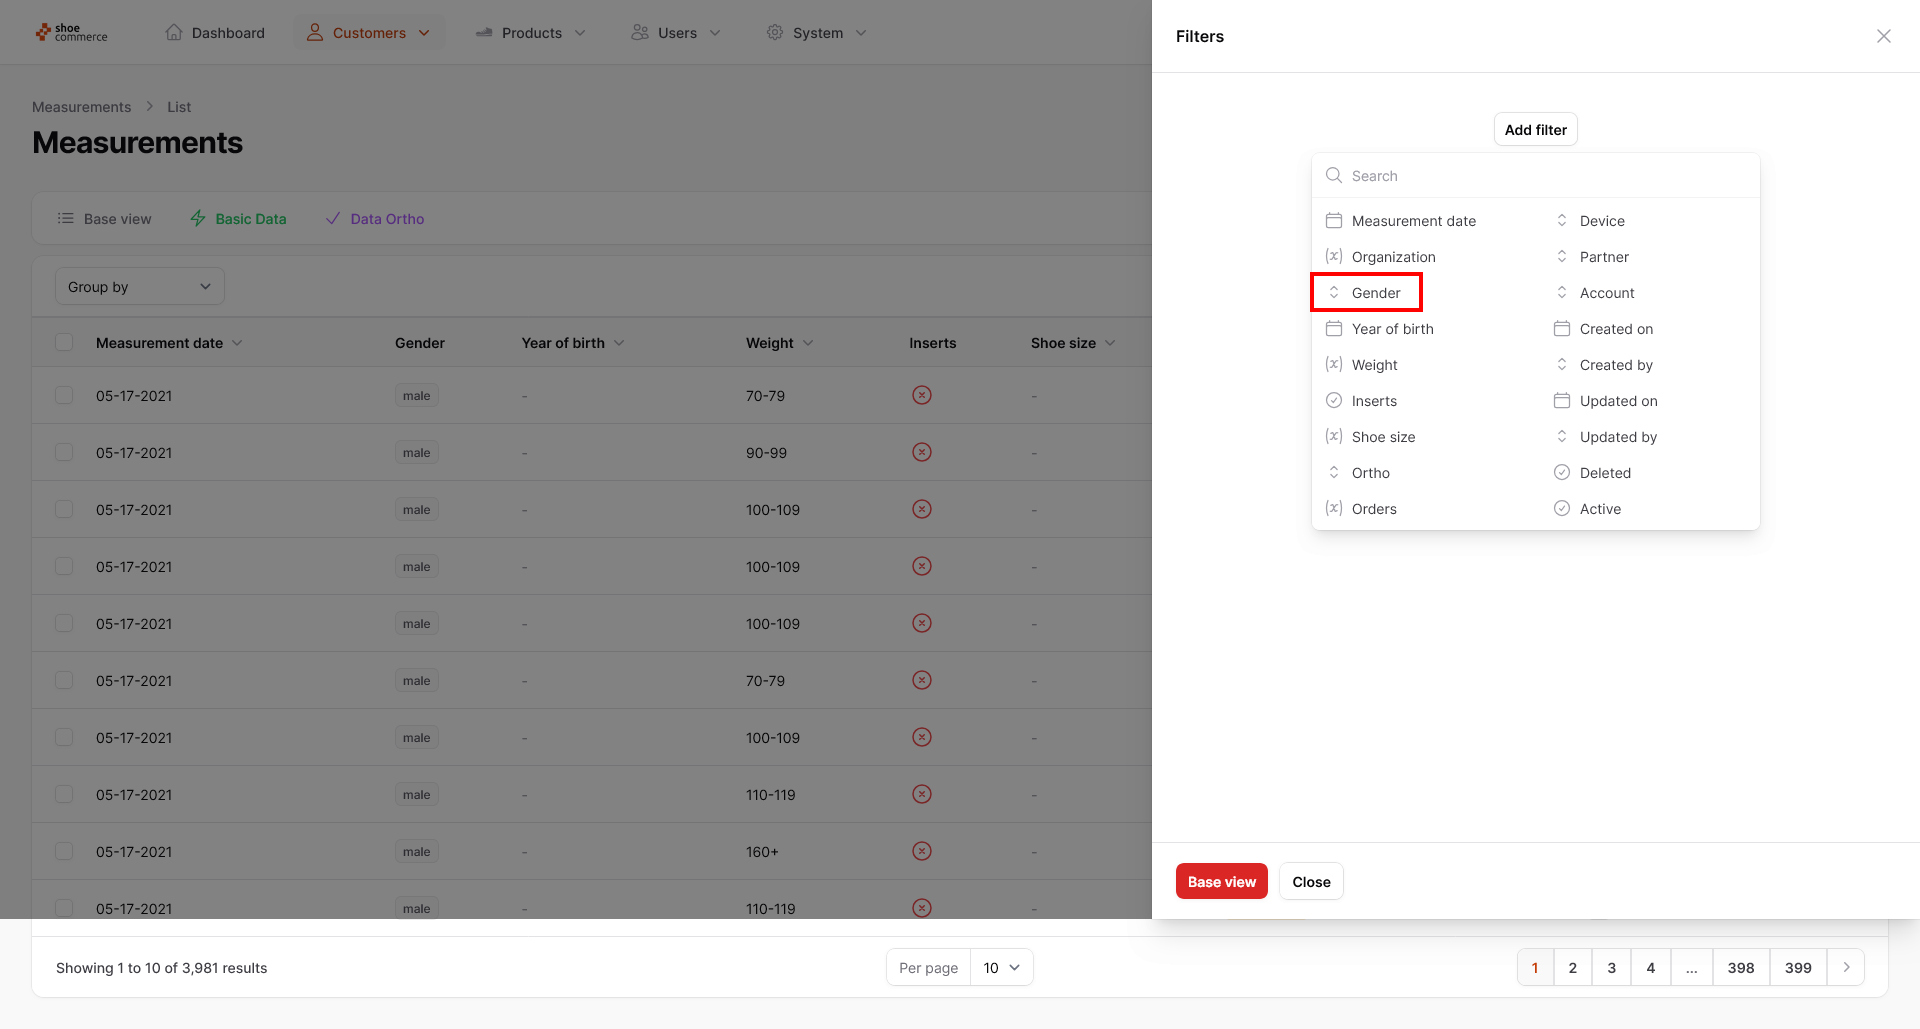
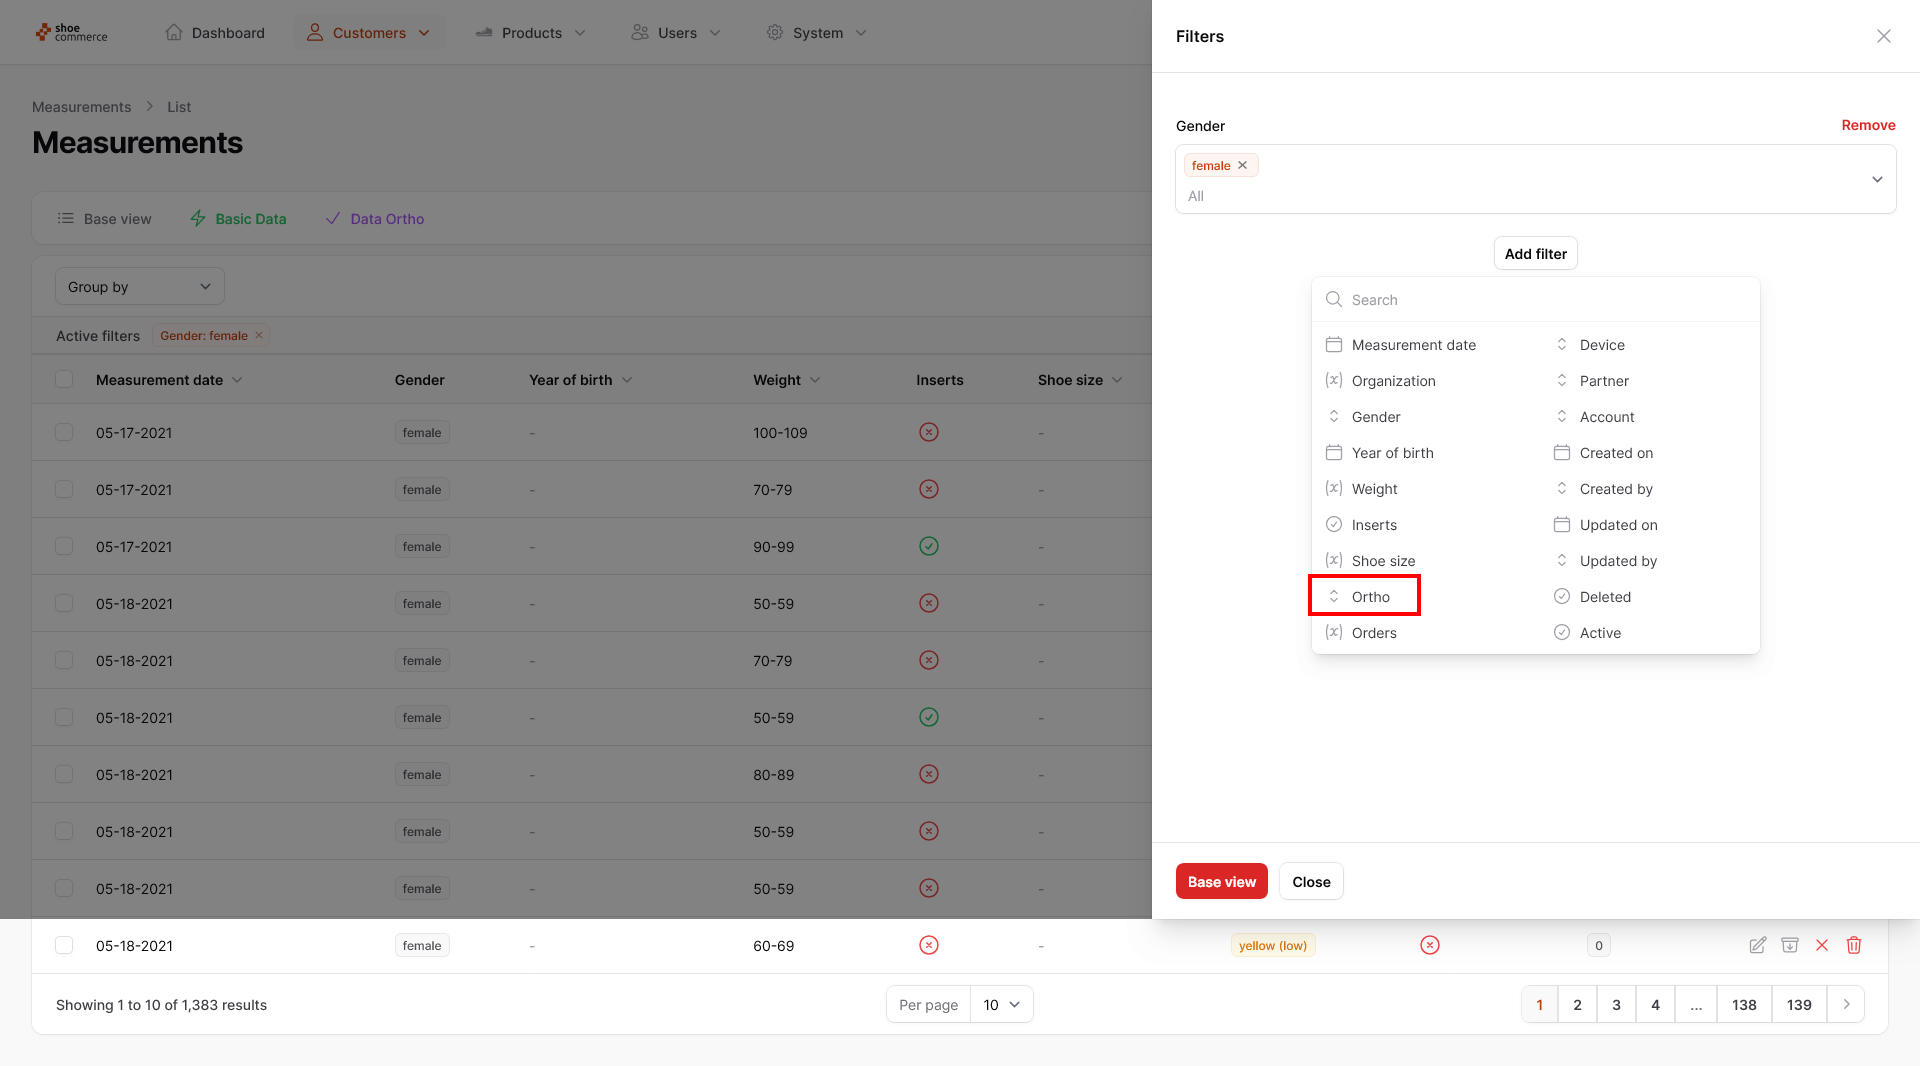
- To use combinations of filters, please proceed as follows. In our example, we would like to filter out all measurements with the characteristics “female” and Otho “green”. To do this, first click on the filter menu again and then on “Add filter”.
- Another menu now opens, in which a range of filter options are available. In our case, we first select the filter option “Gender”, which adds a new drop-down menu.
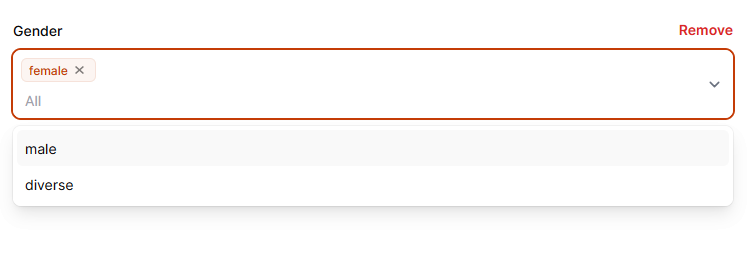
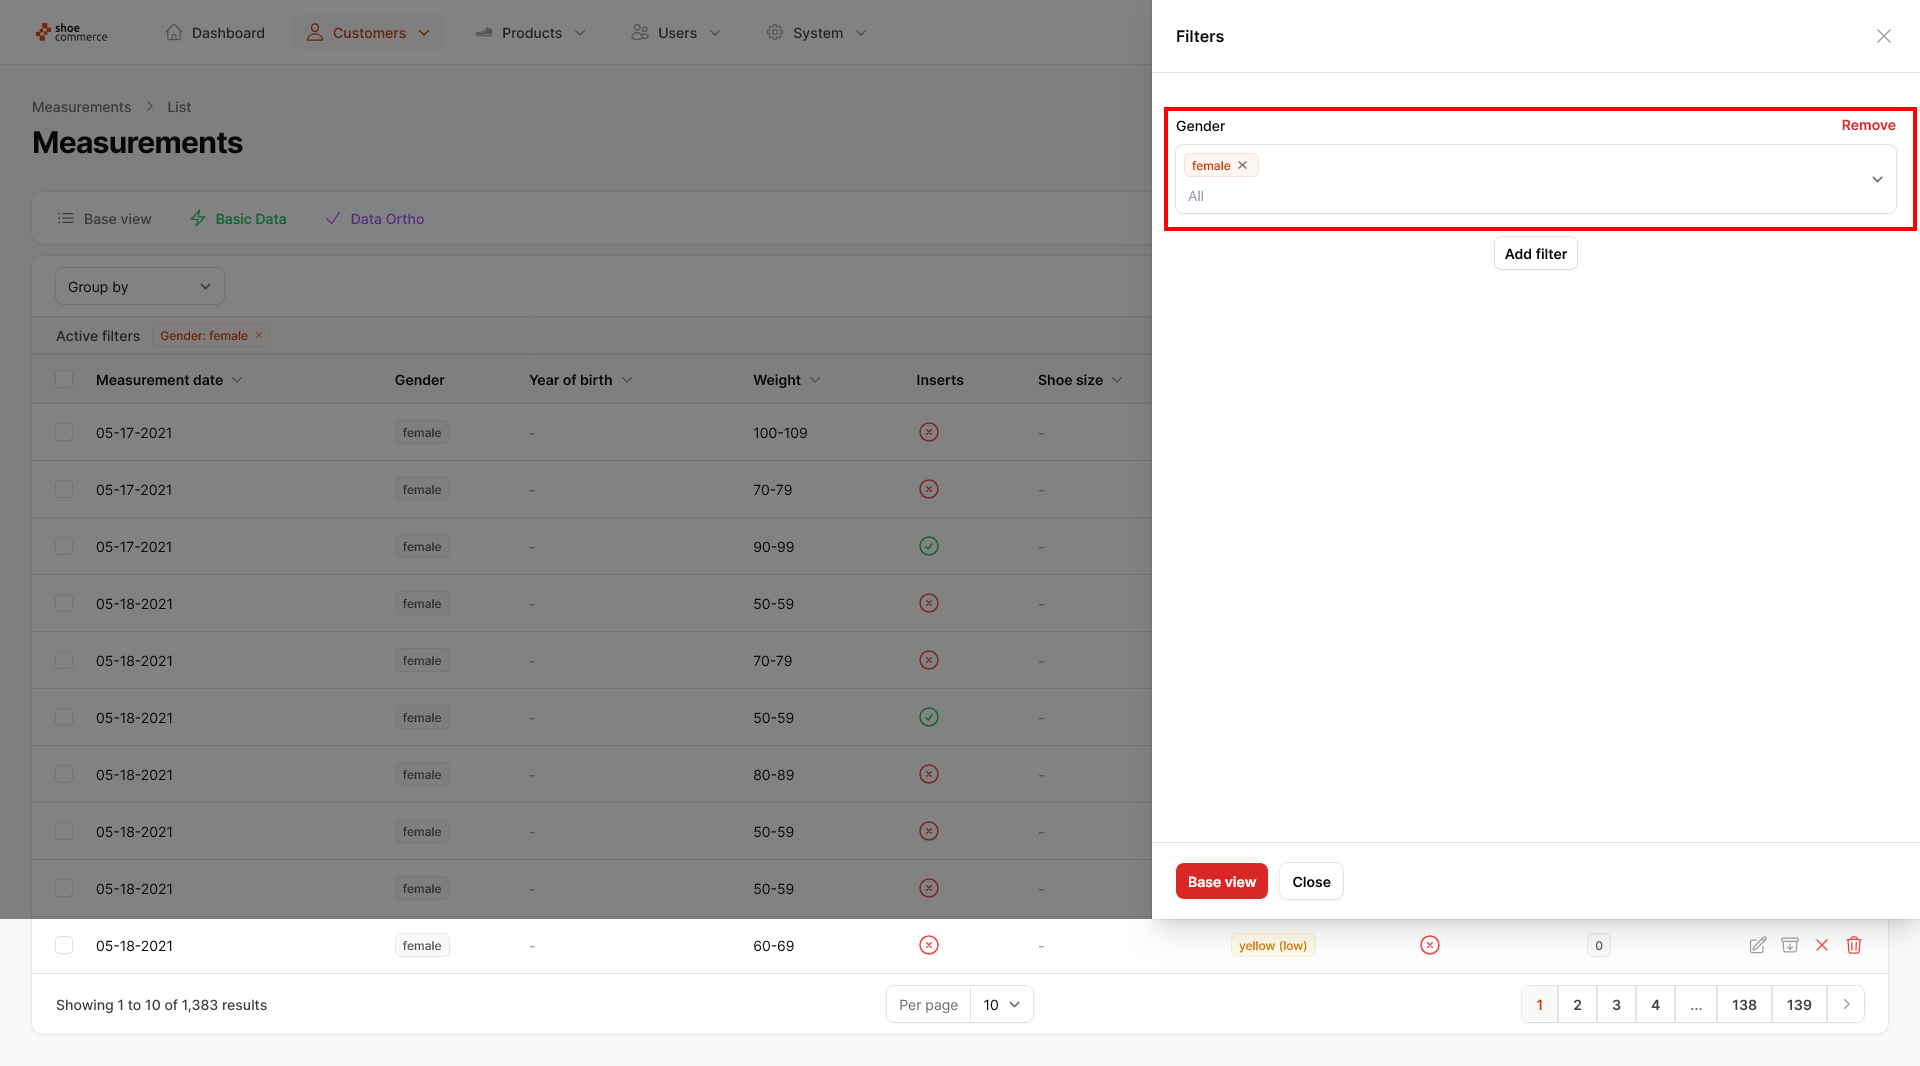
- Here we select “female”, which sets the filter directly in the backend. You could also create another filter here at the same time by clicking on “male” or “diverse”. If you don't want to do this, click on any free space in the filter menu to close the “Gender” filter selection.
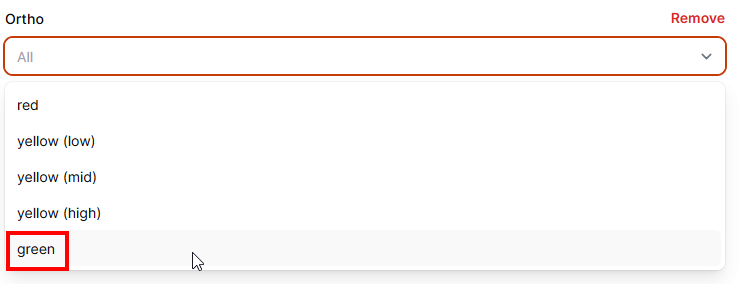
- To select the other filter, click on “Add filter” again and select “Ortho”. Again, a new drop-down menu is shown in which you now select “green”. Again, click on any free space in the filter menu to close the “Ortho” filter selection.
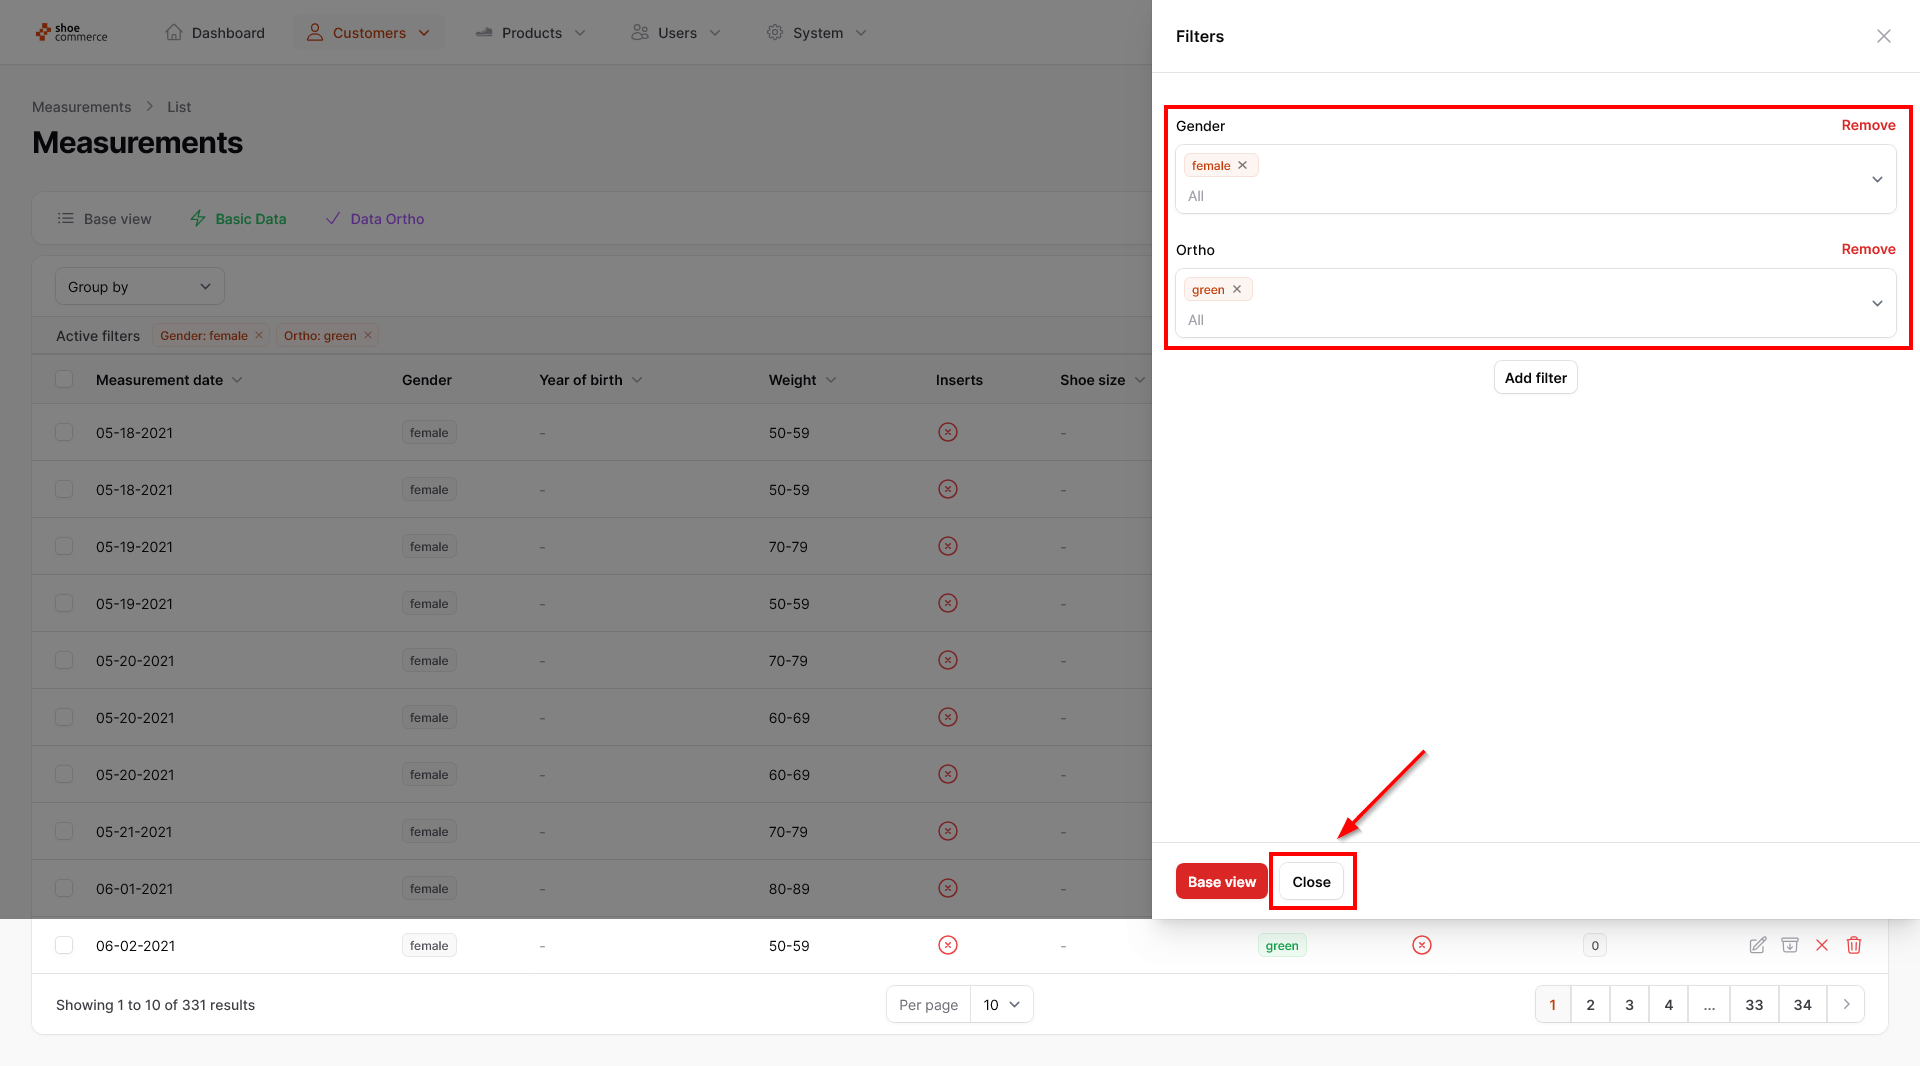
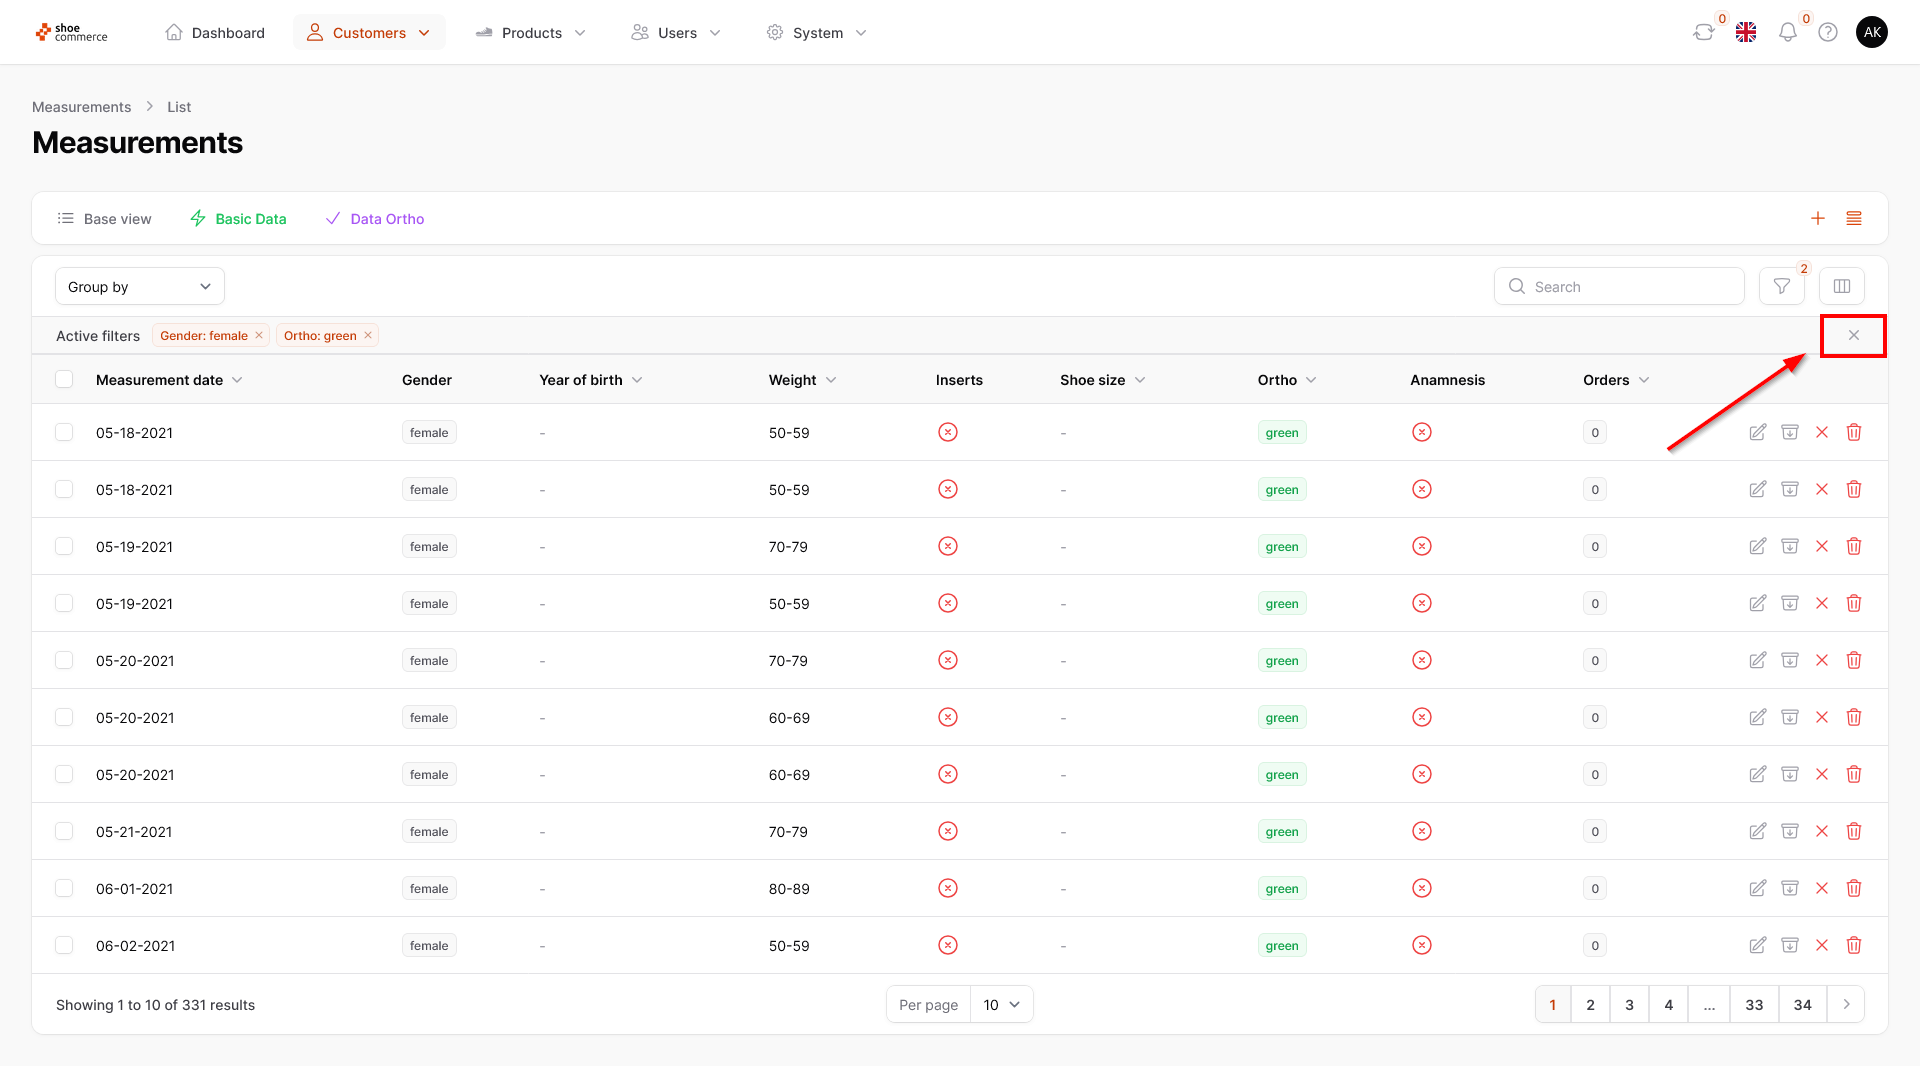
- Now we have filtered all data with the values “female” and Ortho “green”. Please click on “Close” now. In the backend you will now see the two selected filters displayed under “Active filters” as well as the number “2” in the filter menu for the number of filters set. Individual filters can be deactivated again by clicking on the “x” under “Active filters” or deleted completely in the filter menu by clicking on “Remove”.

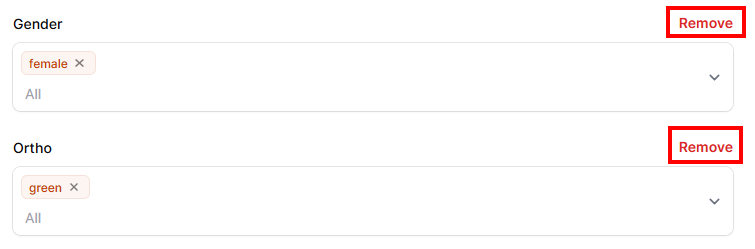
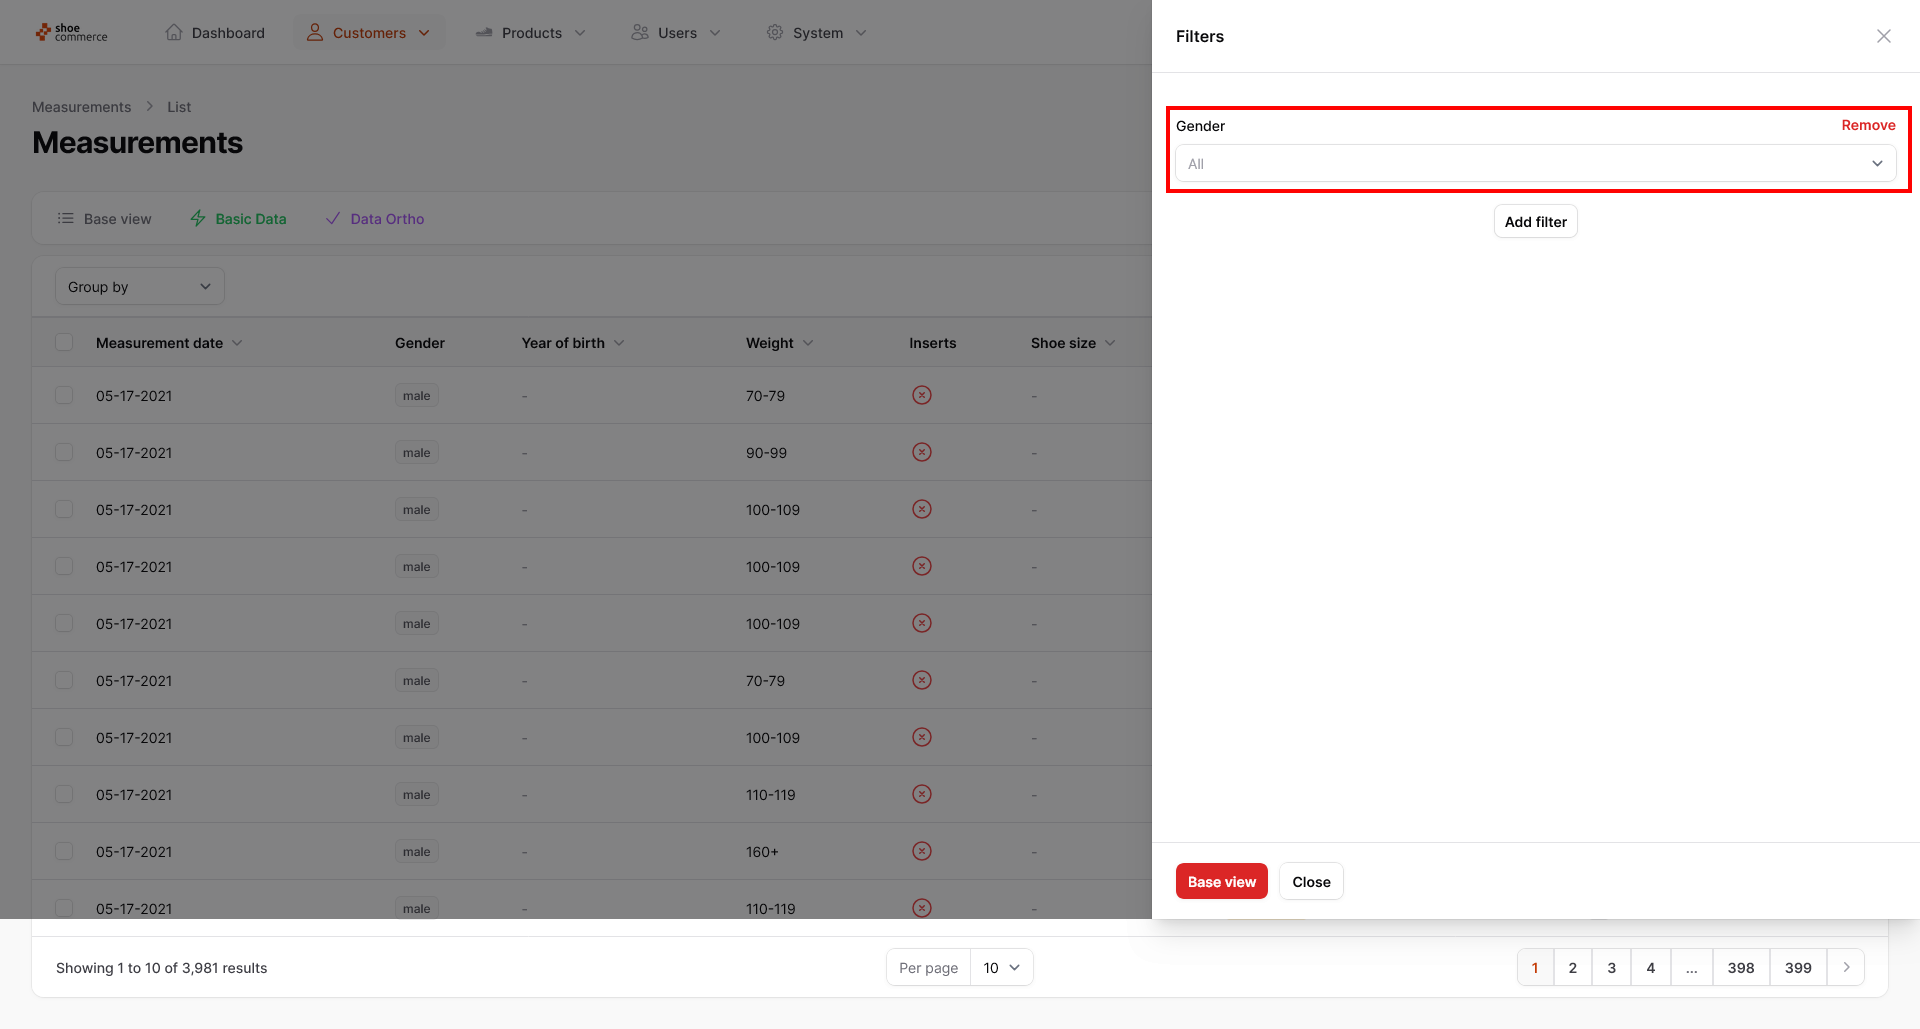
- If you would like to deactivate all set filters, please click on the “x” in the right-hand line of “Active filters”. This will deactivate the set filters, but the filter characteristics will remain in the filter menu. In our case, the filter criteria “Gender” and “Ortho” remain as such, but without active filter characteristics (recognizable by “All” being displayed in the drop-down menu).
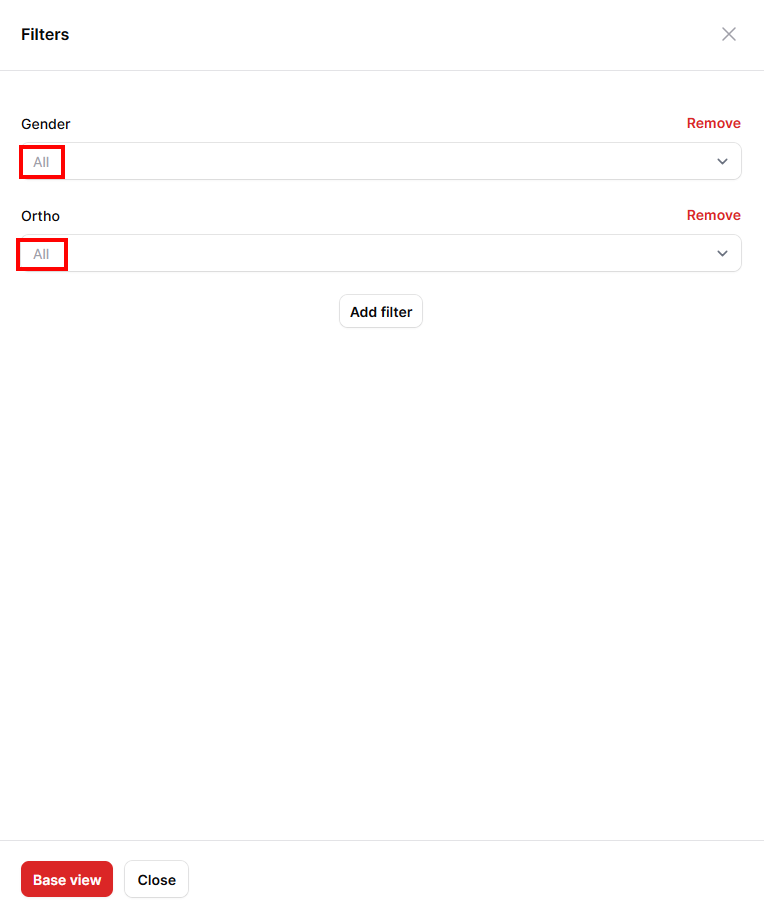
- Click on “Remove” (individual filters) or “Basic view” (all filters) to delete them completely.