Show and hide columns
 Updated
by Andreas Knaupp
Updated
by Andreas Knaupp
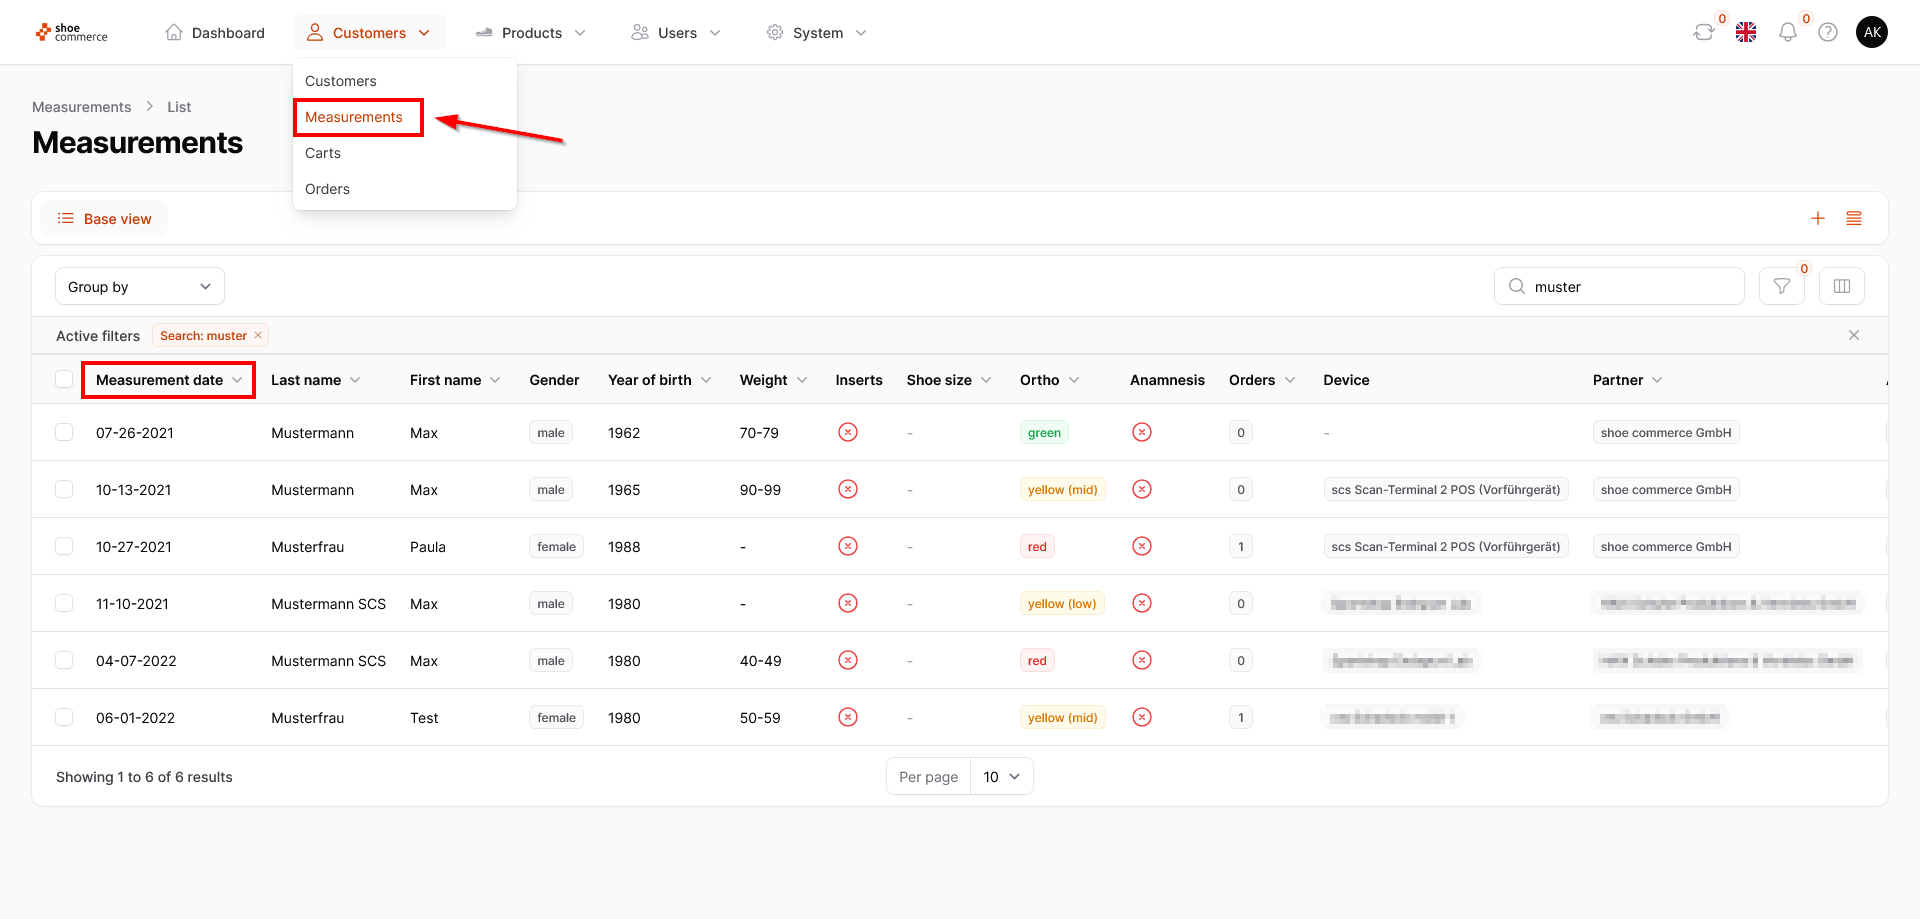
The show and hide columns function is explained here using the “Measurements” menu as an example, but works identically on all levels of the backend.
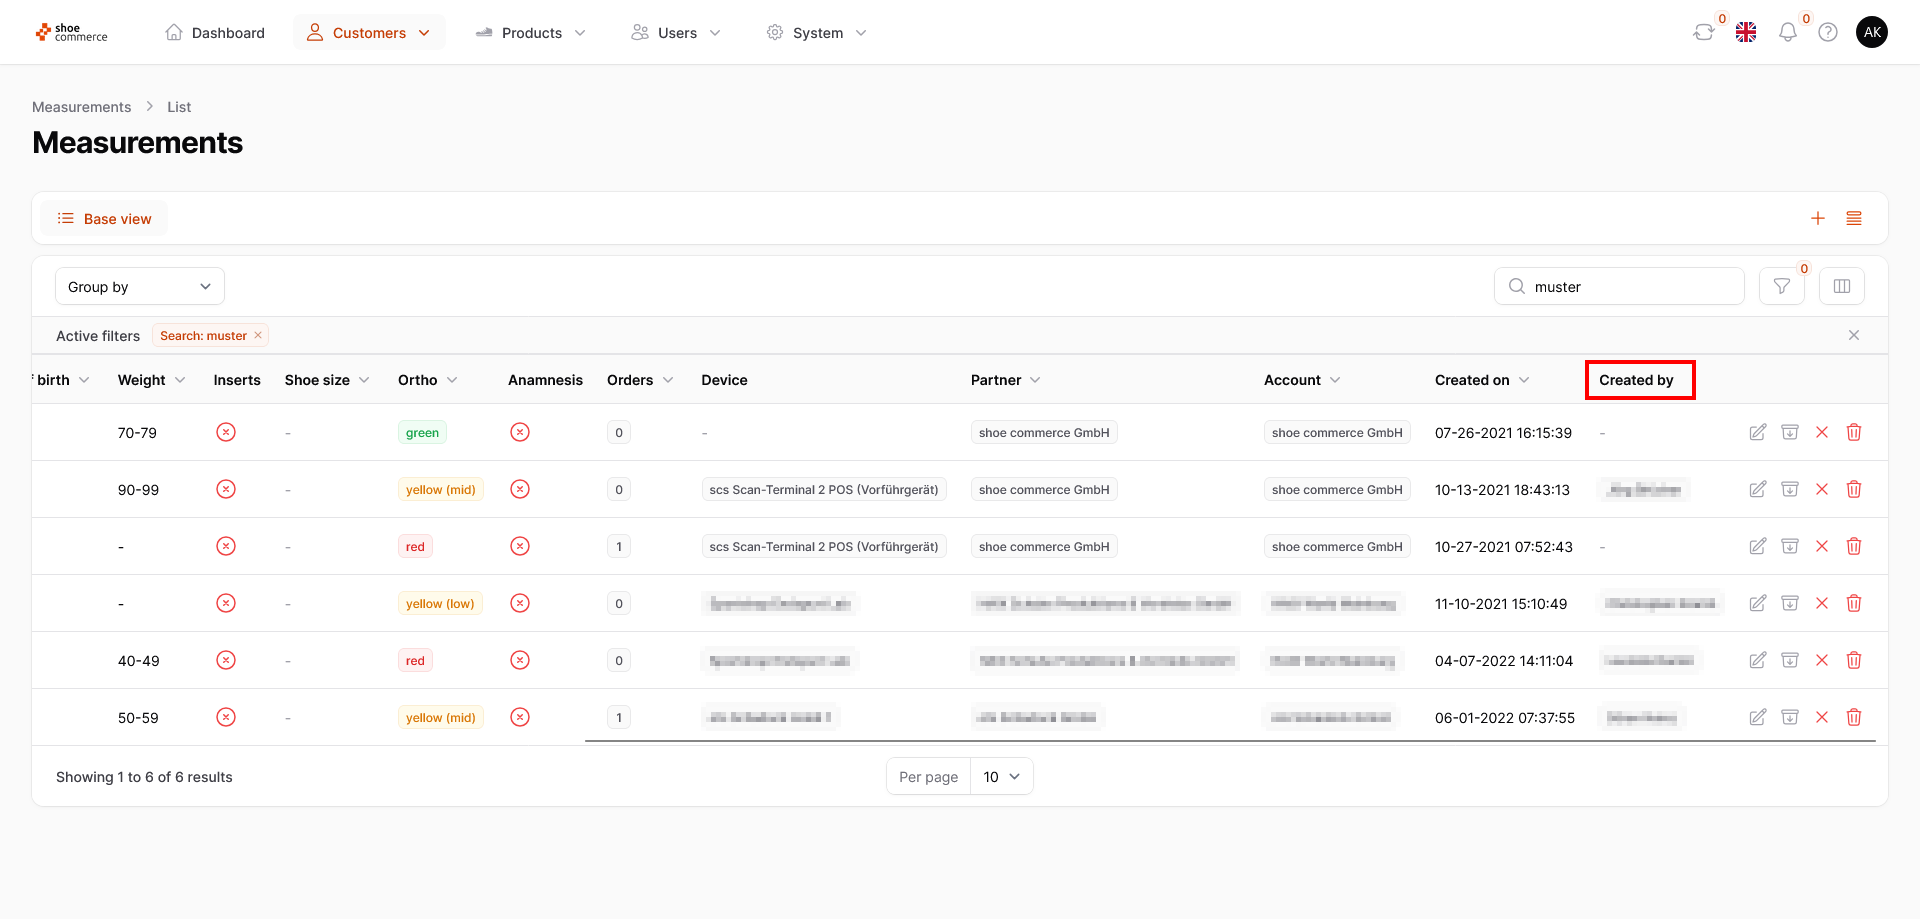
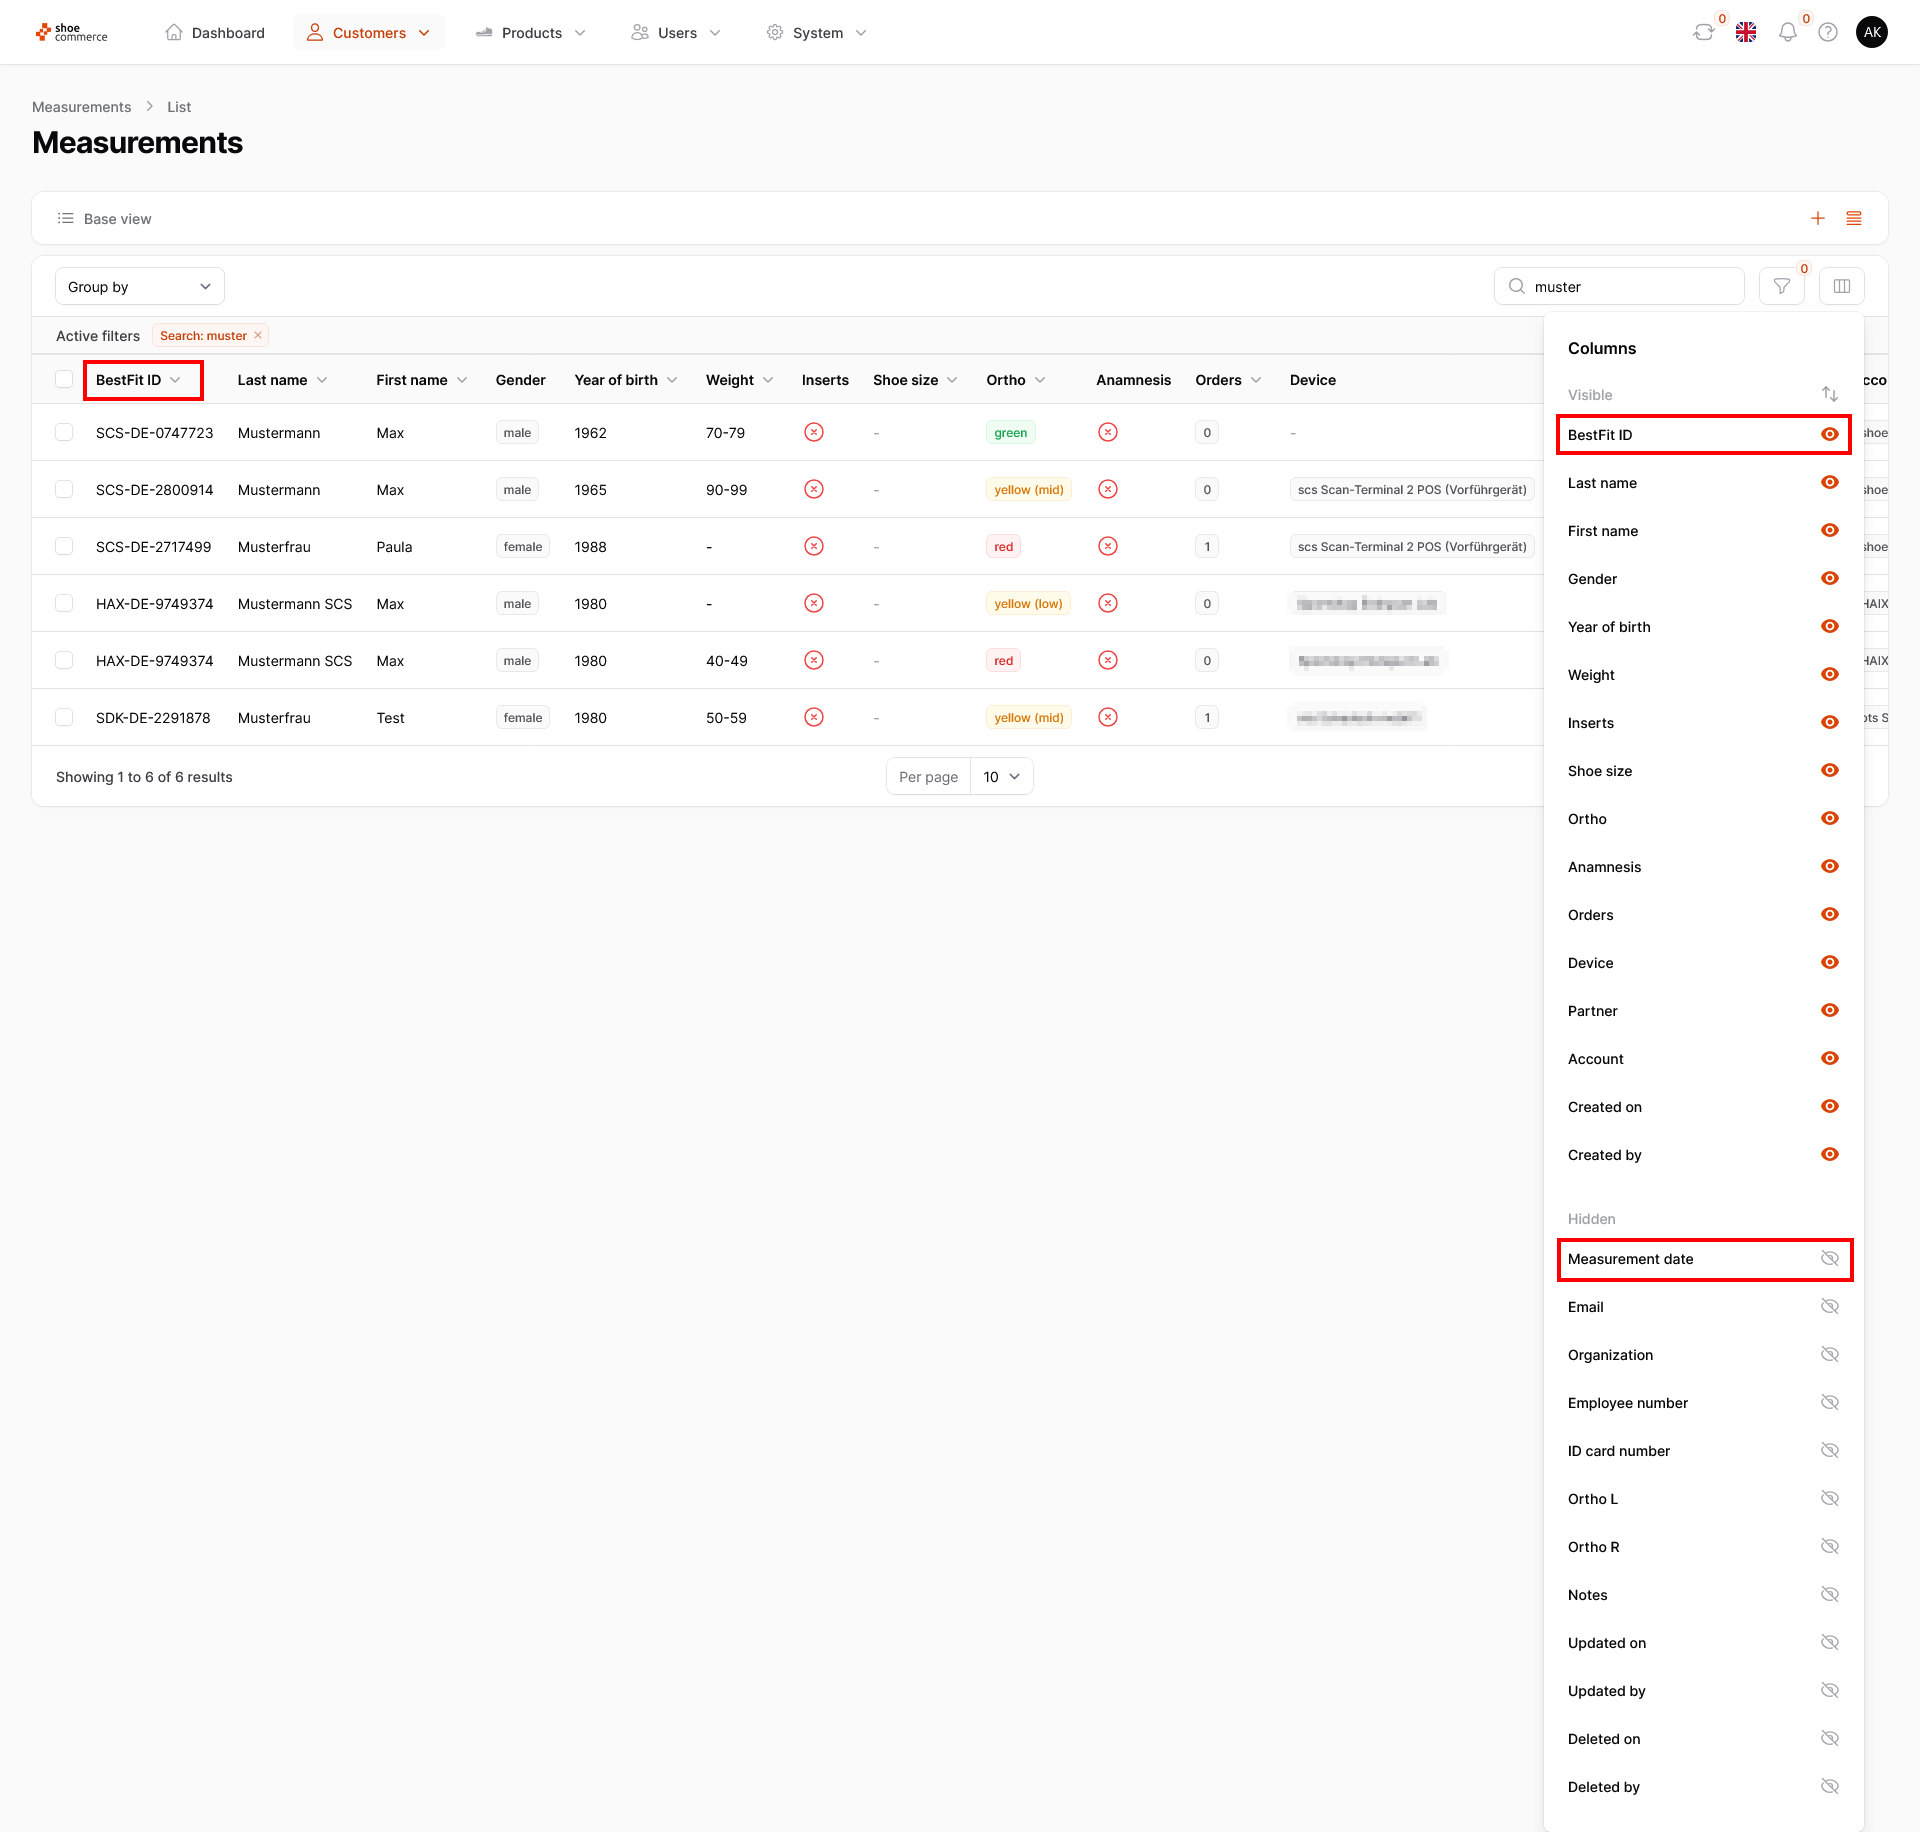
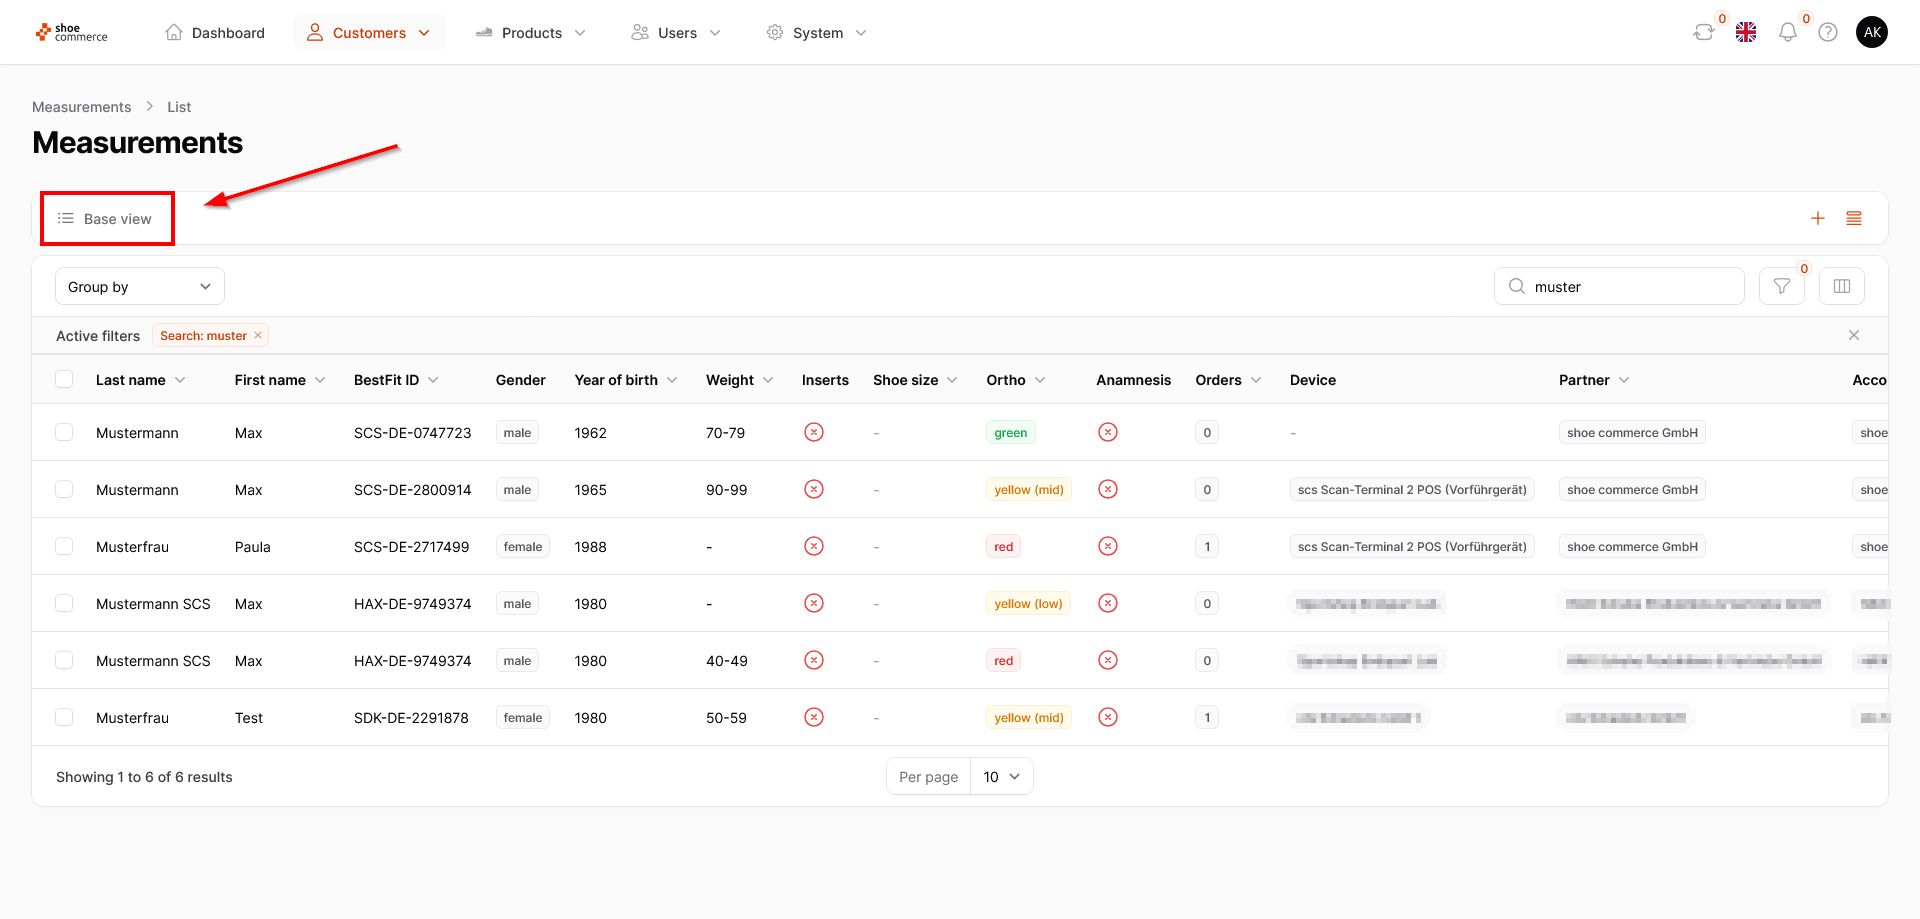
- After clicking on “Measurements”, the corresponding page opens with a standard template regarding the displayed columns. These start with the “Measurement date” on the far left and end with the “Created by” column at the right-hand end of the screen (please scroll all the way to the right for this. Note: You can scroll horizontally by simultaneously pressing the Shift key and turning the mouse wheel). Depending on which menu you are currently in, different standard templates are used.
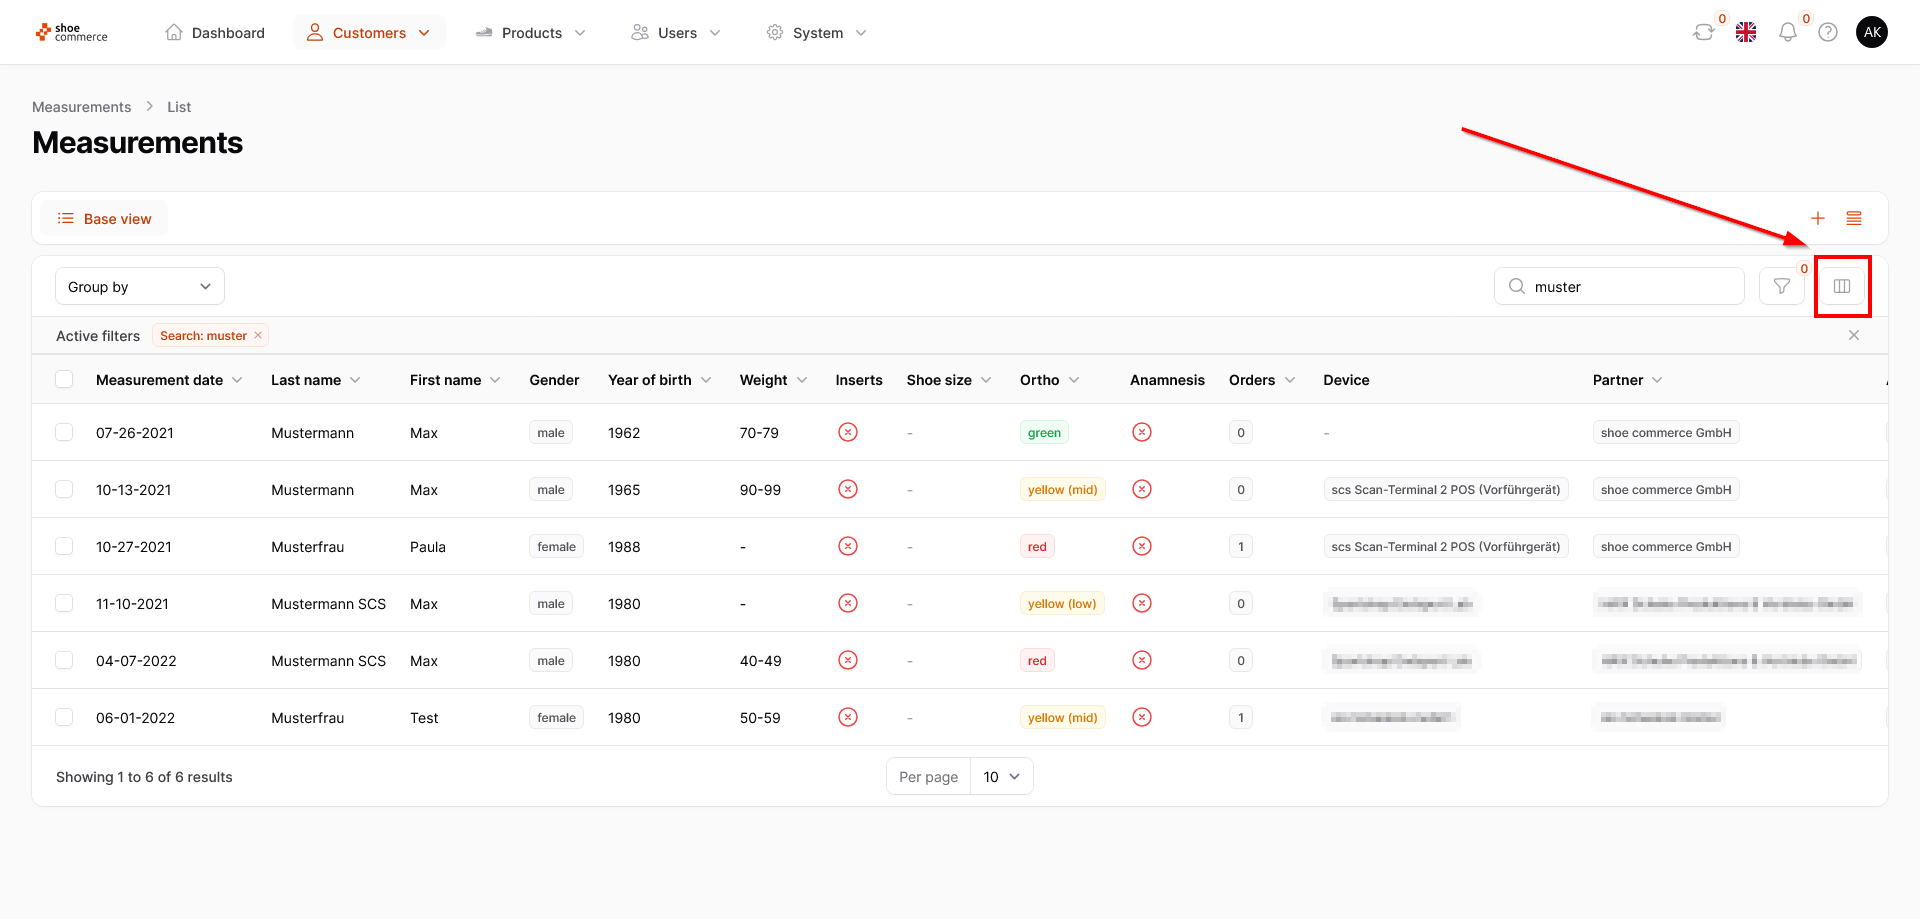
- To customize the column view to your personal needs, first click on the corresponding icon in the top right-hand corner.
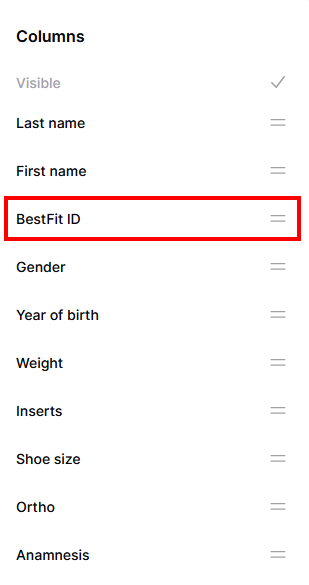
- A menu now opens in which all columns currently shown are displayed in the “Visible” category, while all others that are not shown are displayed in the “Hidden” category. You can also see the classification from the corresponding symbol (orange eye / grayed-out eye). The order of the columns is arranged in such a way that the top entry in the “Visible” category is the column on the far left, while the bottom entry is the column on the far right.
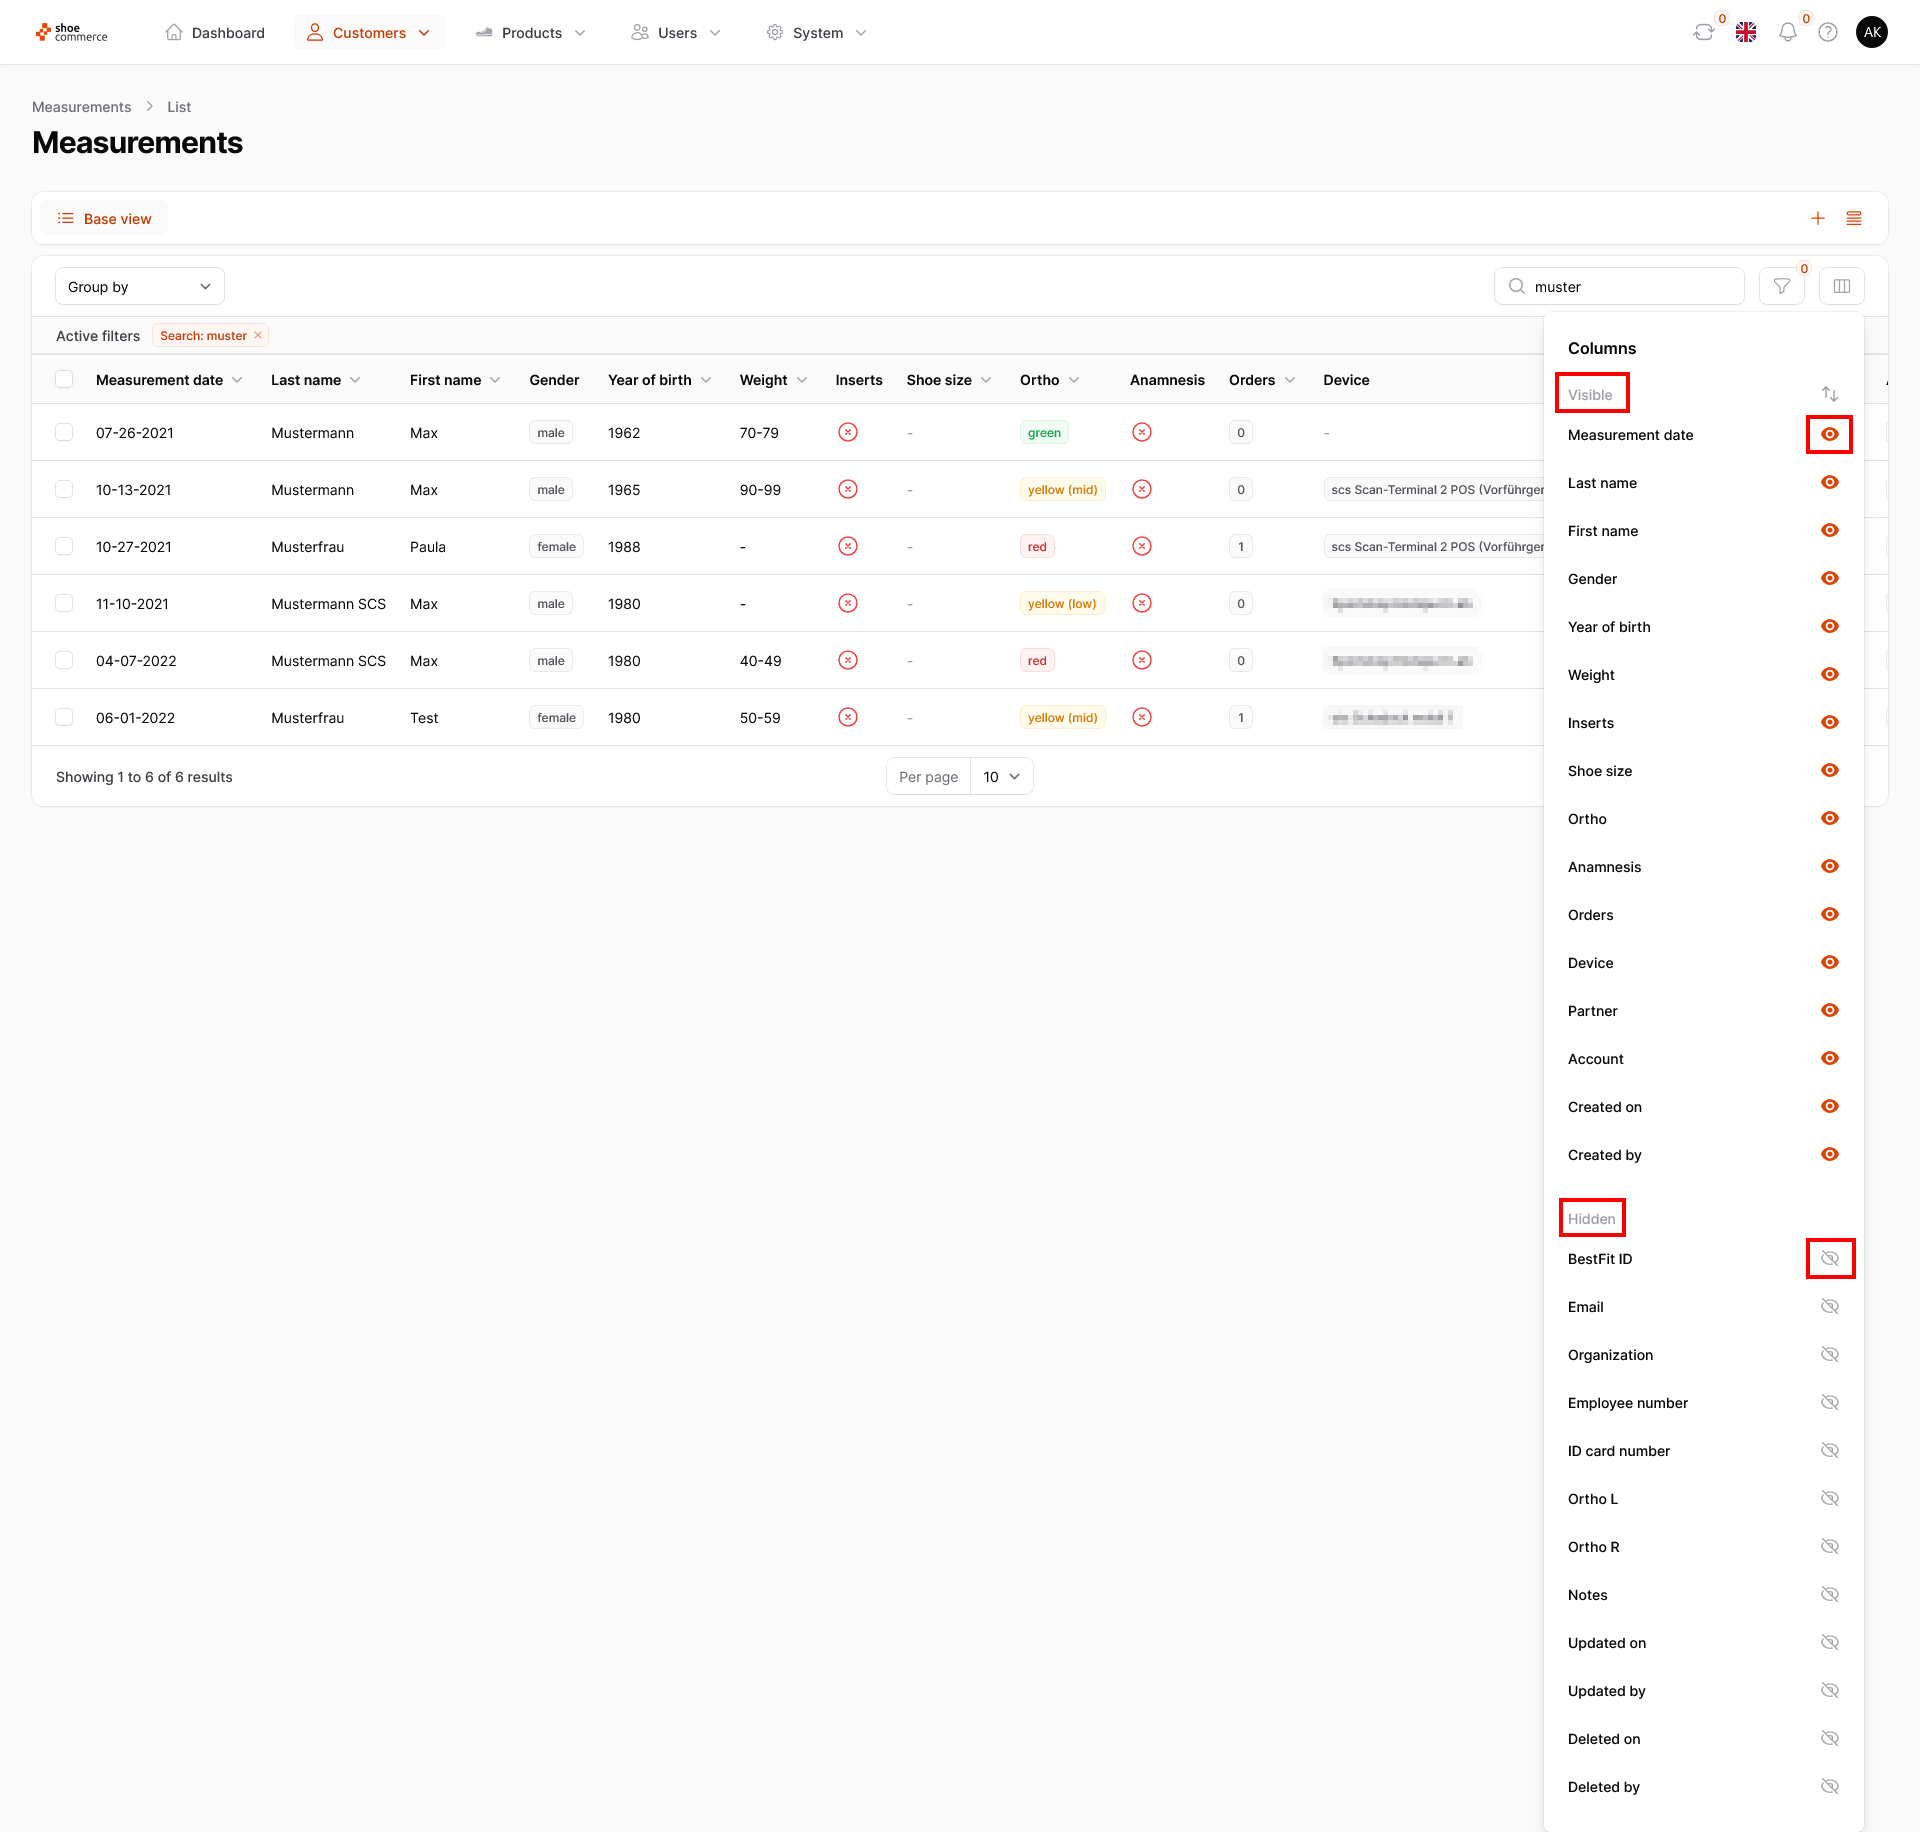
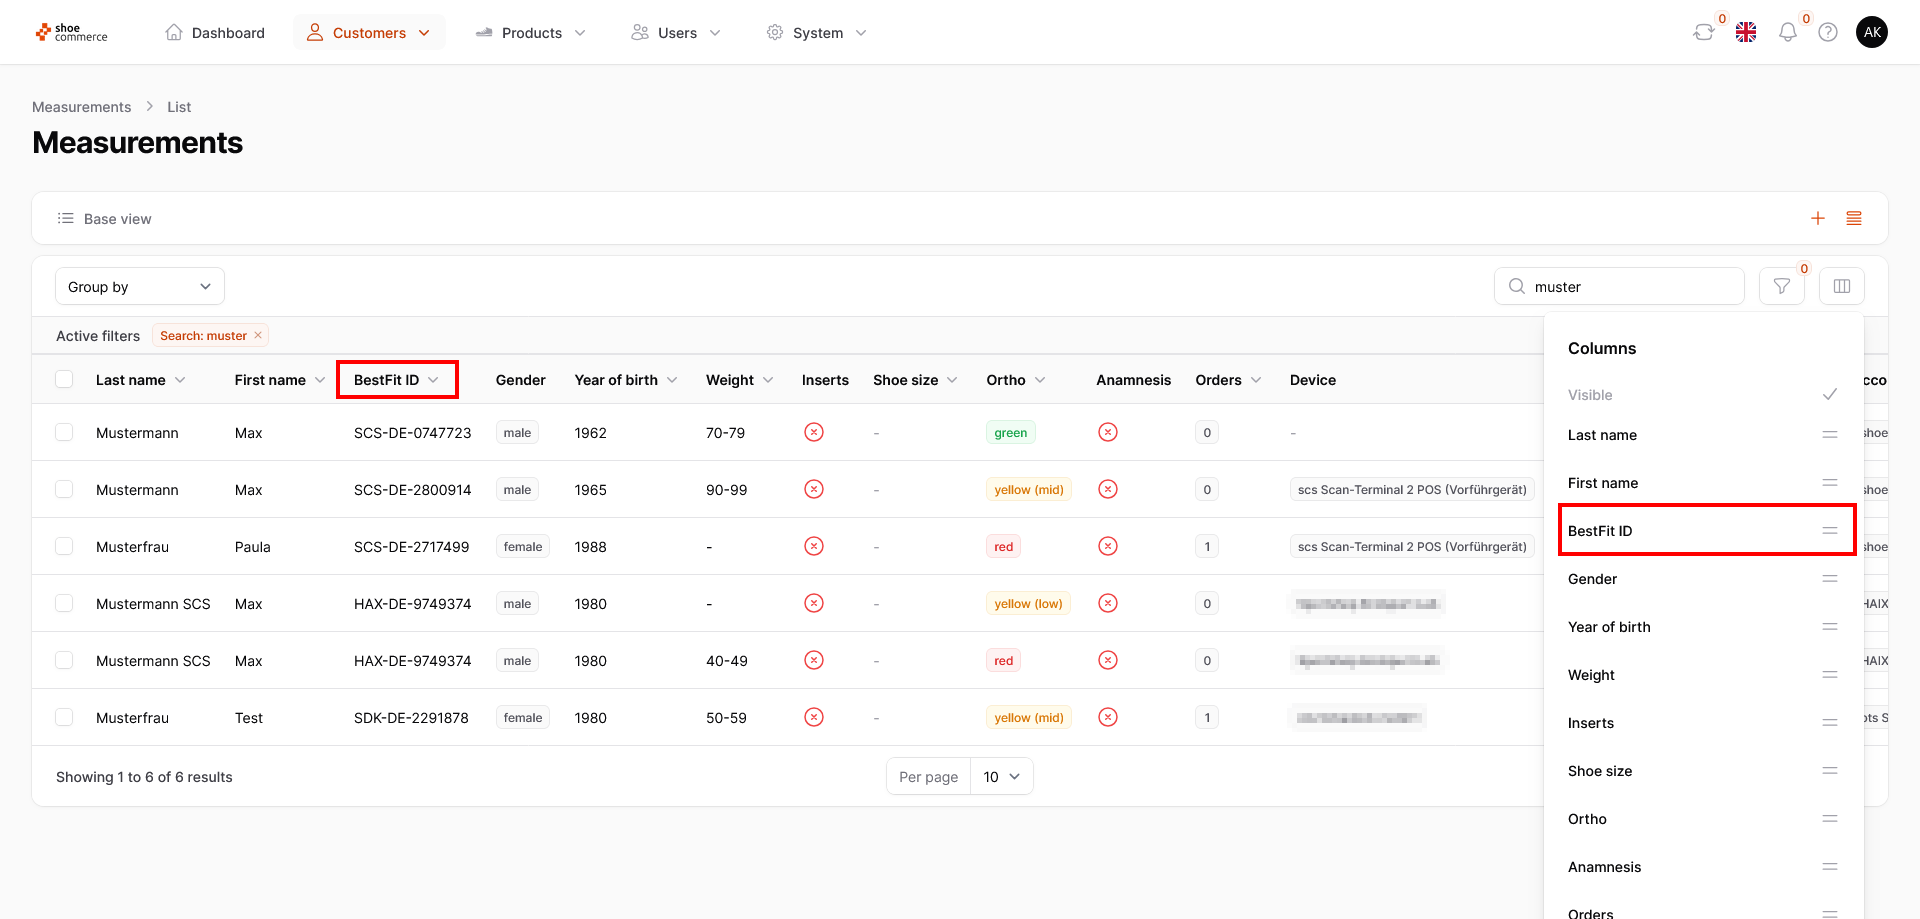
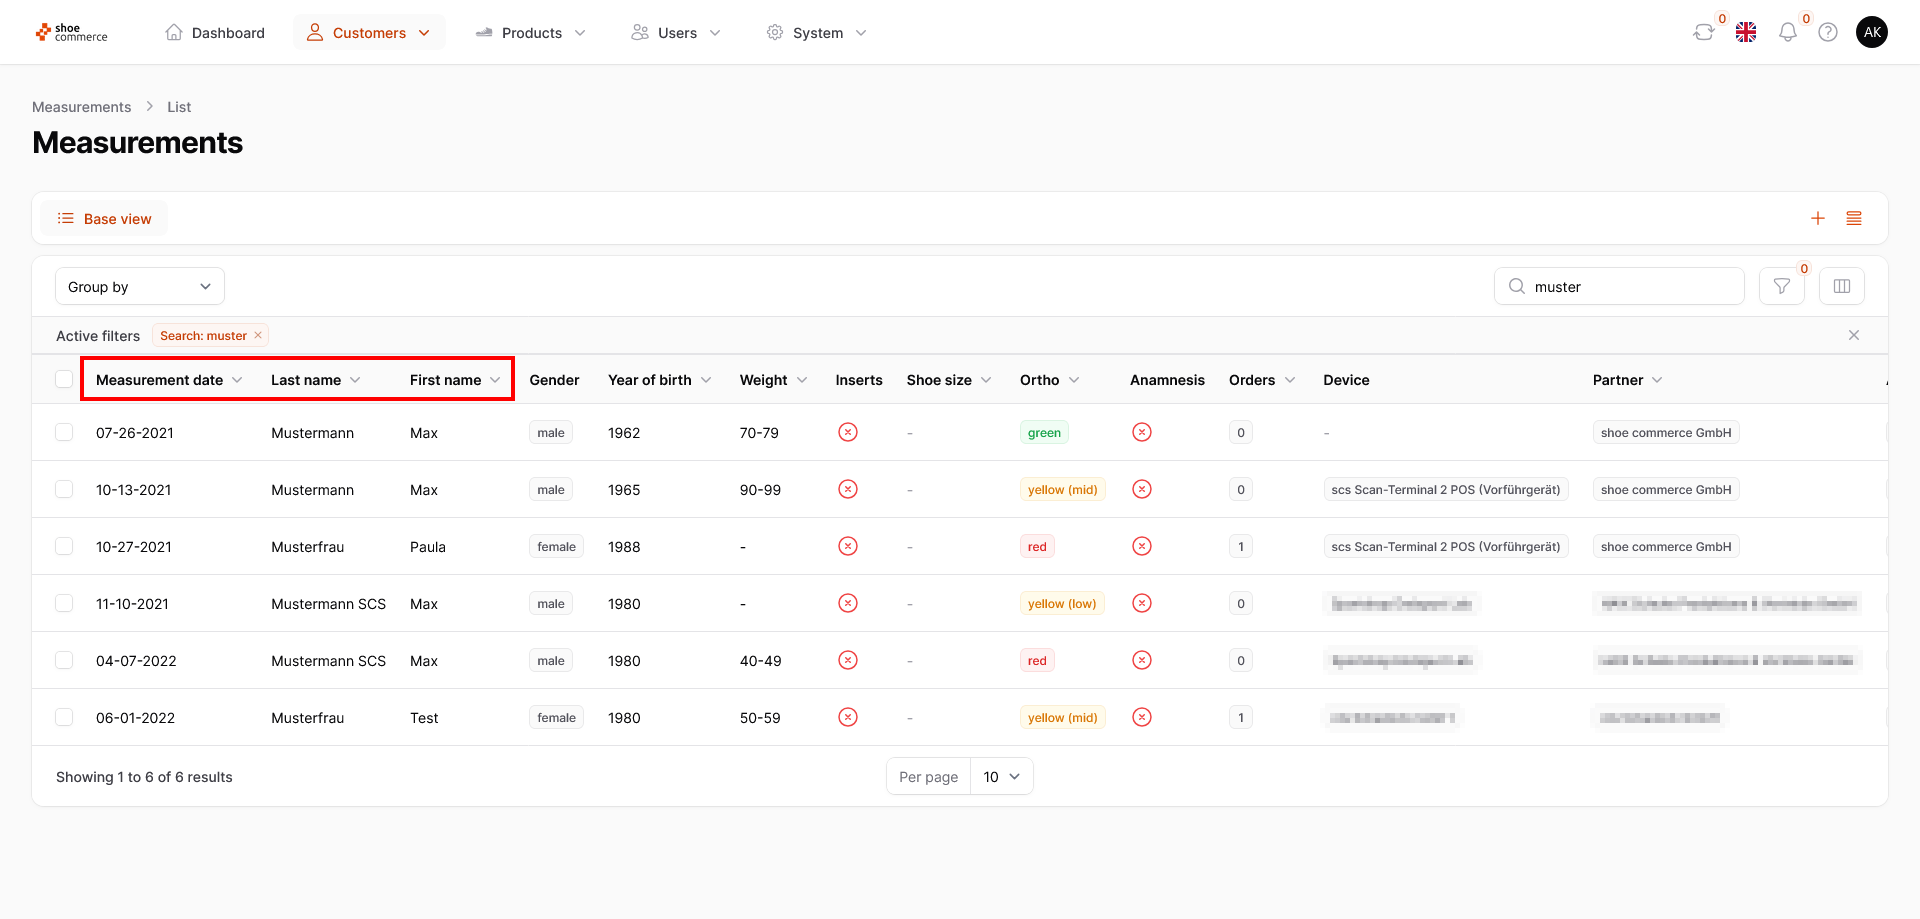
- In this example, we would like to hide the “Measurement date” column but show the “BestFit ID”. To do this, first click on the orange eye symbol next to “Measurement date”. This column will now be hidden directly in the backend and moved to the “Hidden” category. To show the “BestFit ID”, please click on the grayed-out eye symbol. This column is now displayed at the top of both the backend and the “Visible” category.

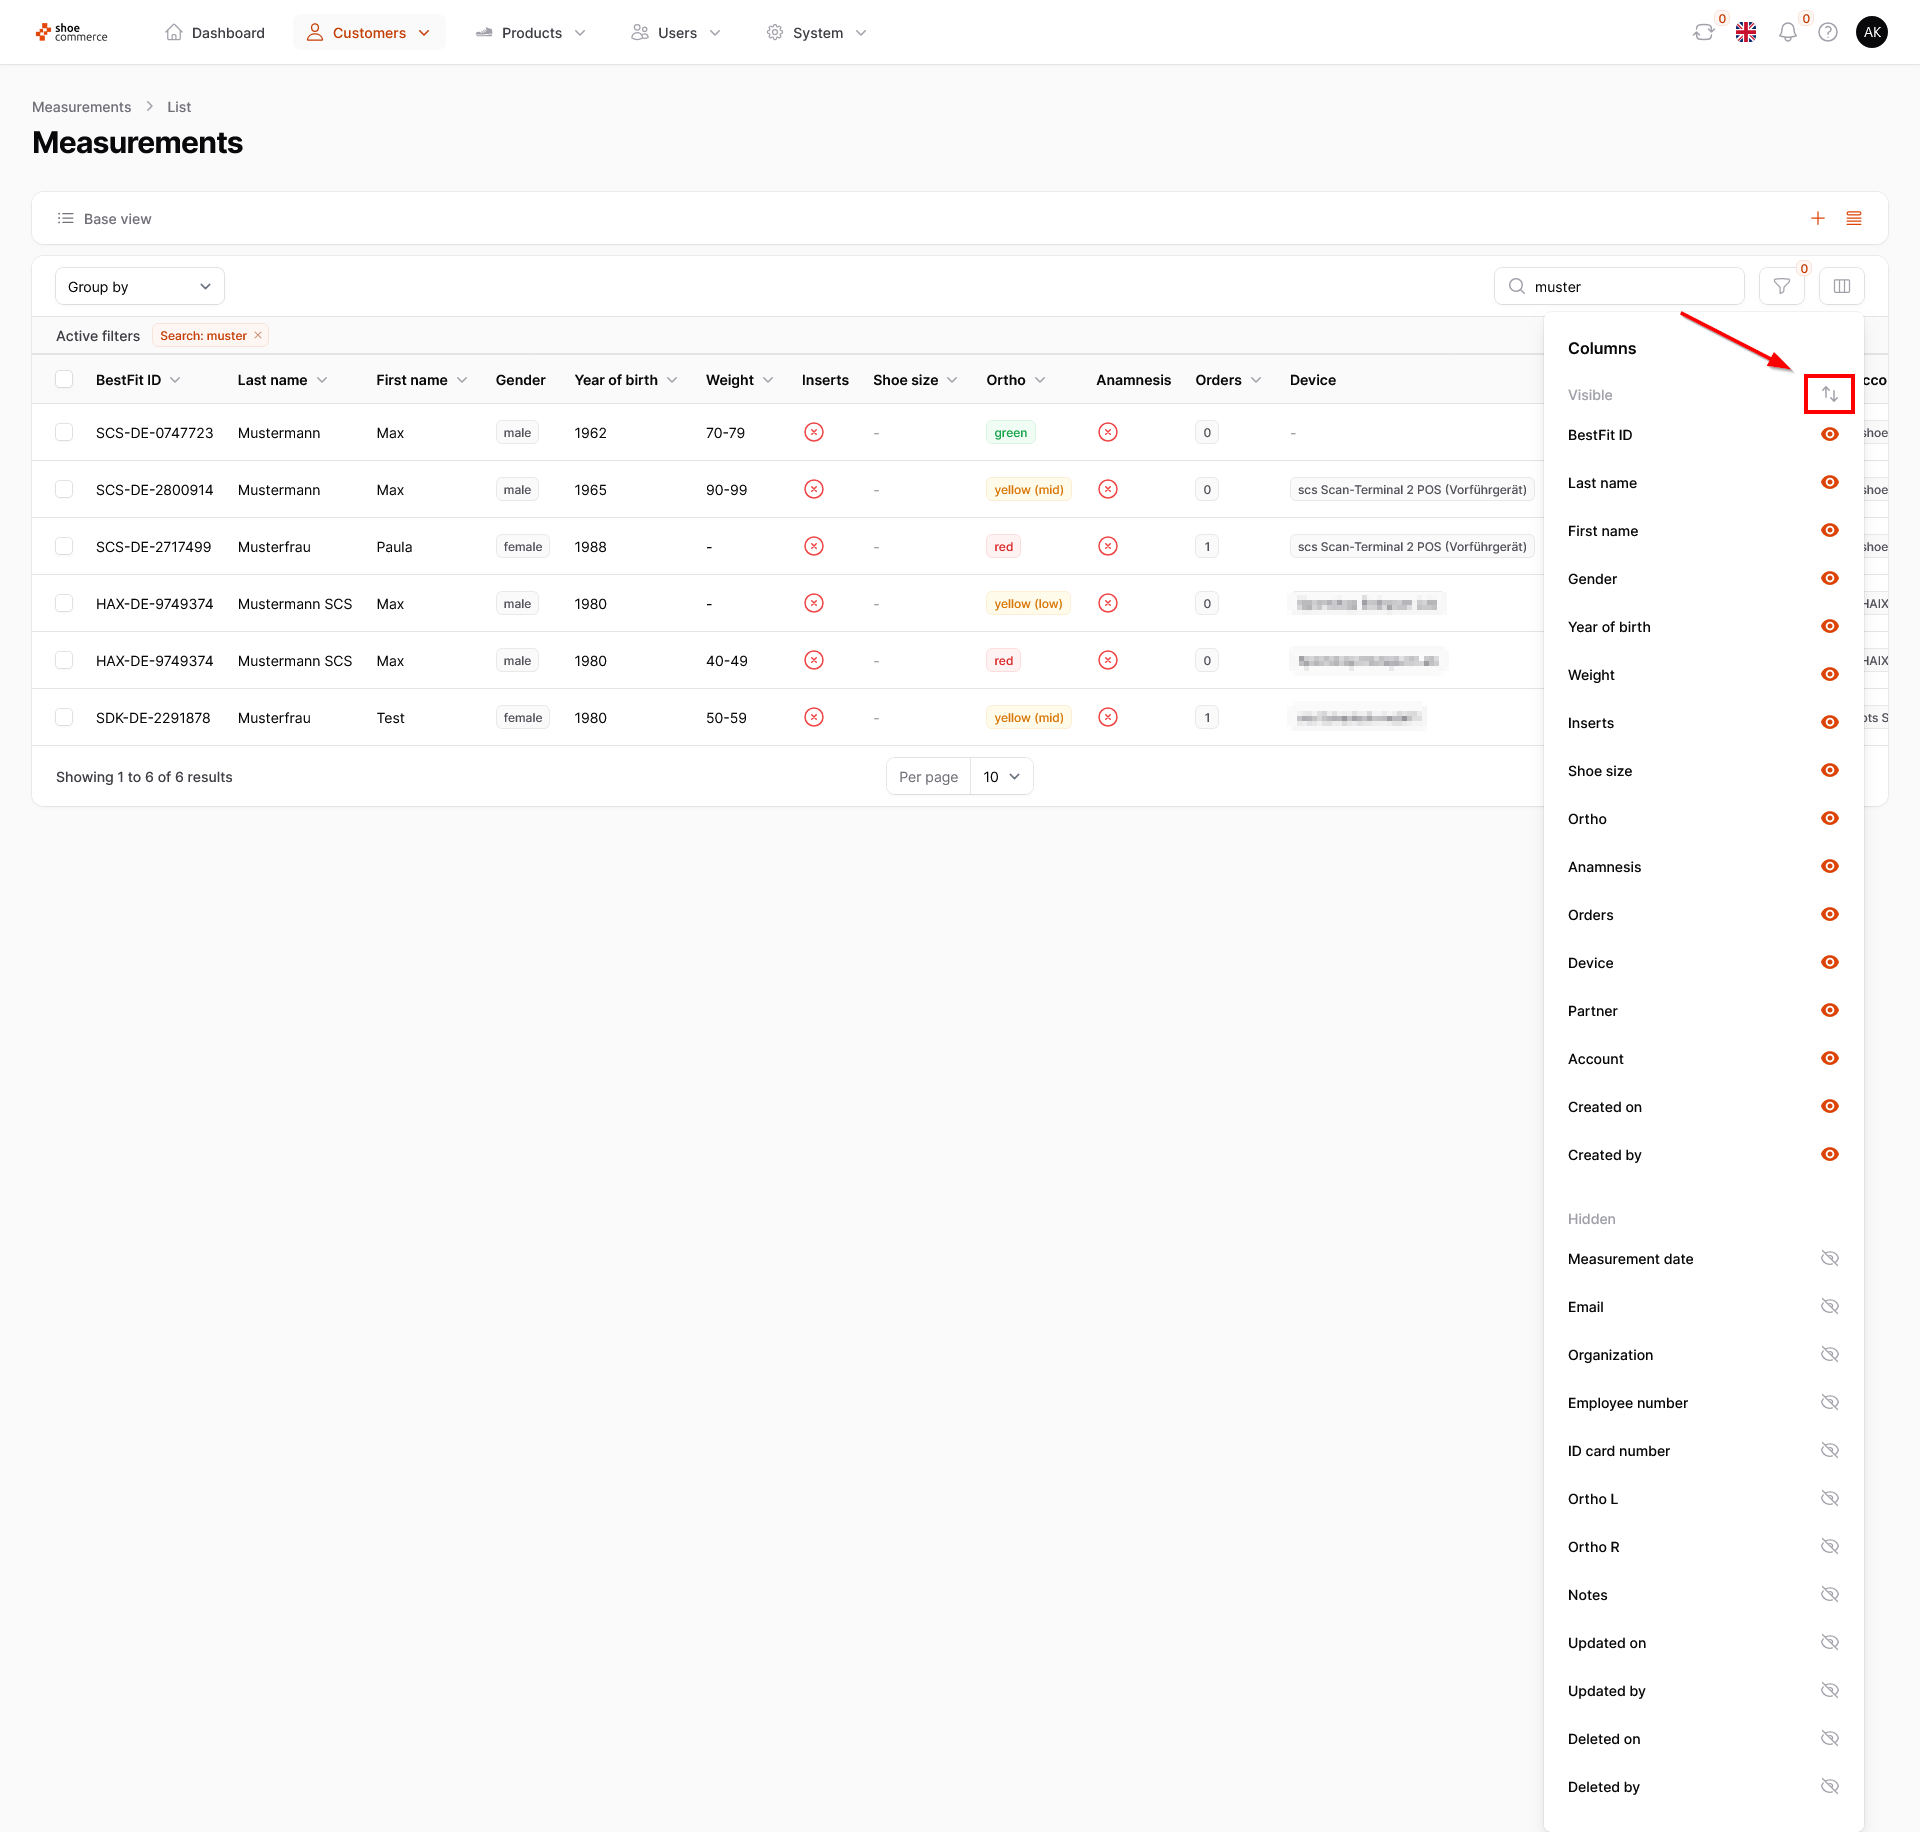
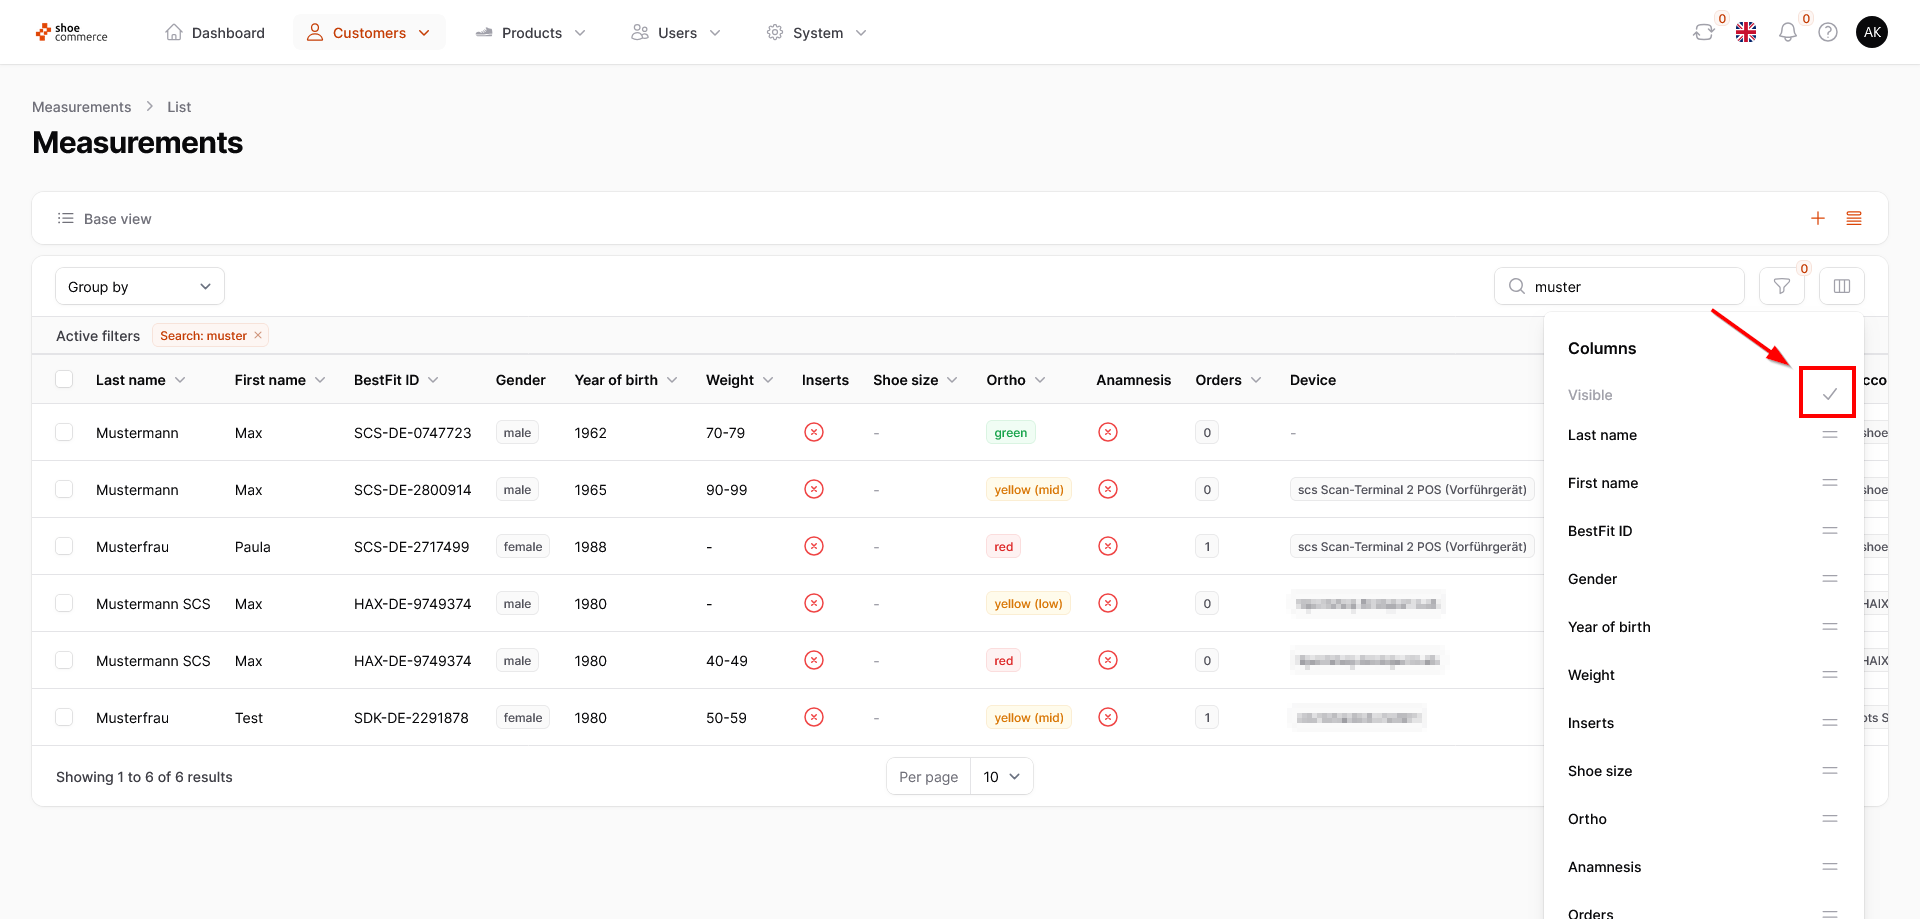
- In addition to showing and hiding columns, you also have the option of changing the order of the displayed columns. To do this, first click on the arrow symbol next to the “Visible” category, which will cause the symbols to change.
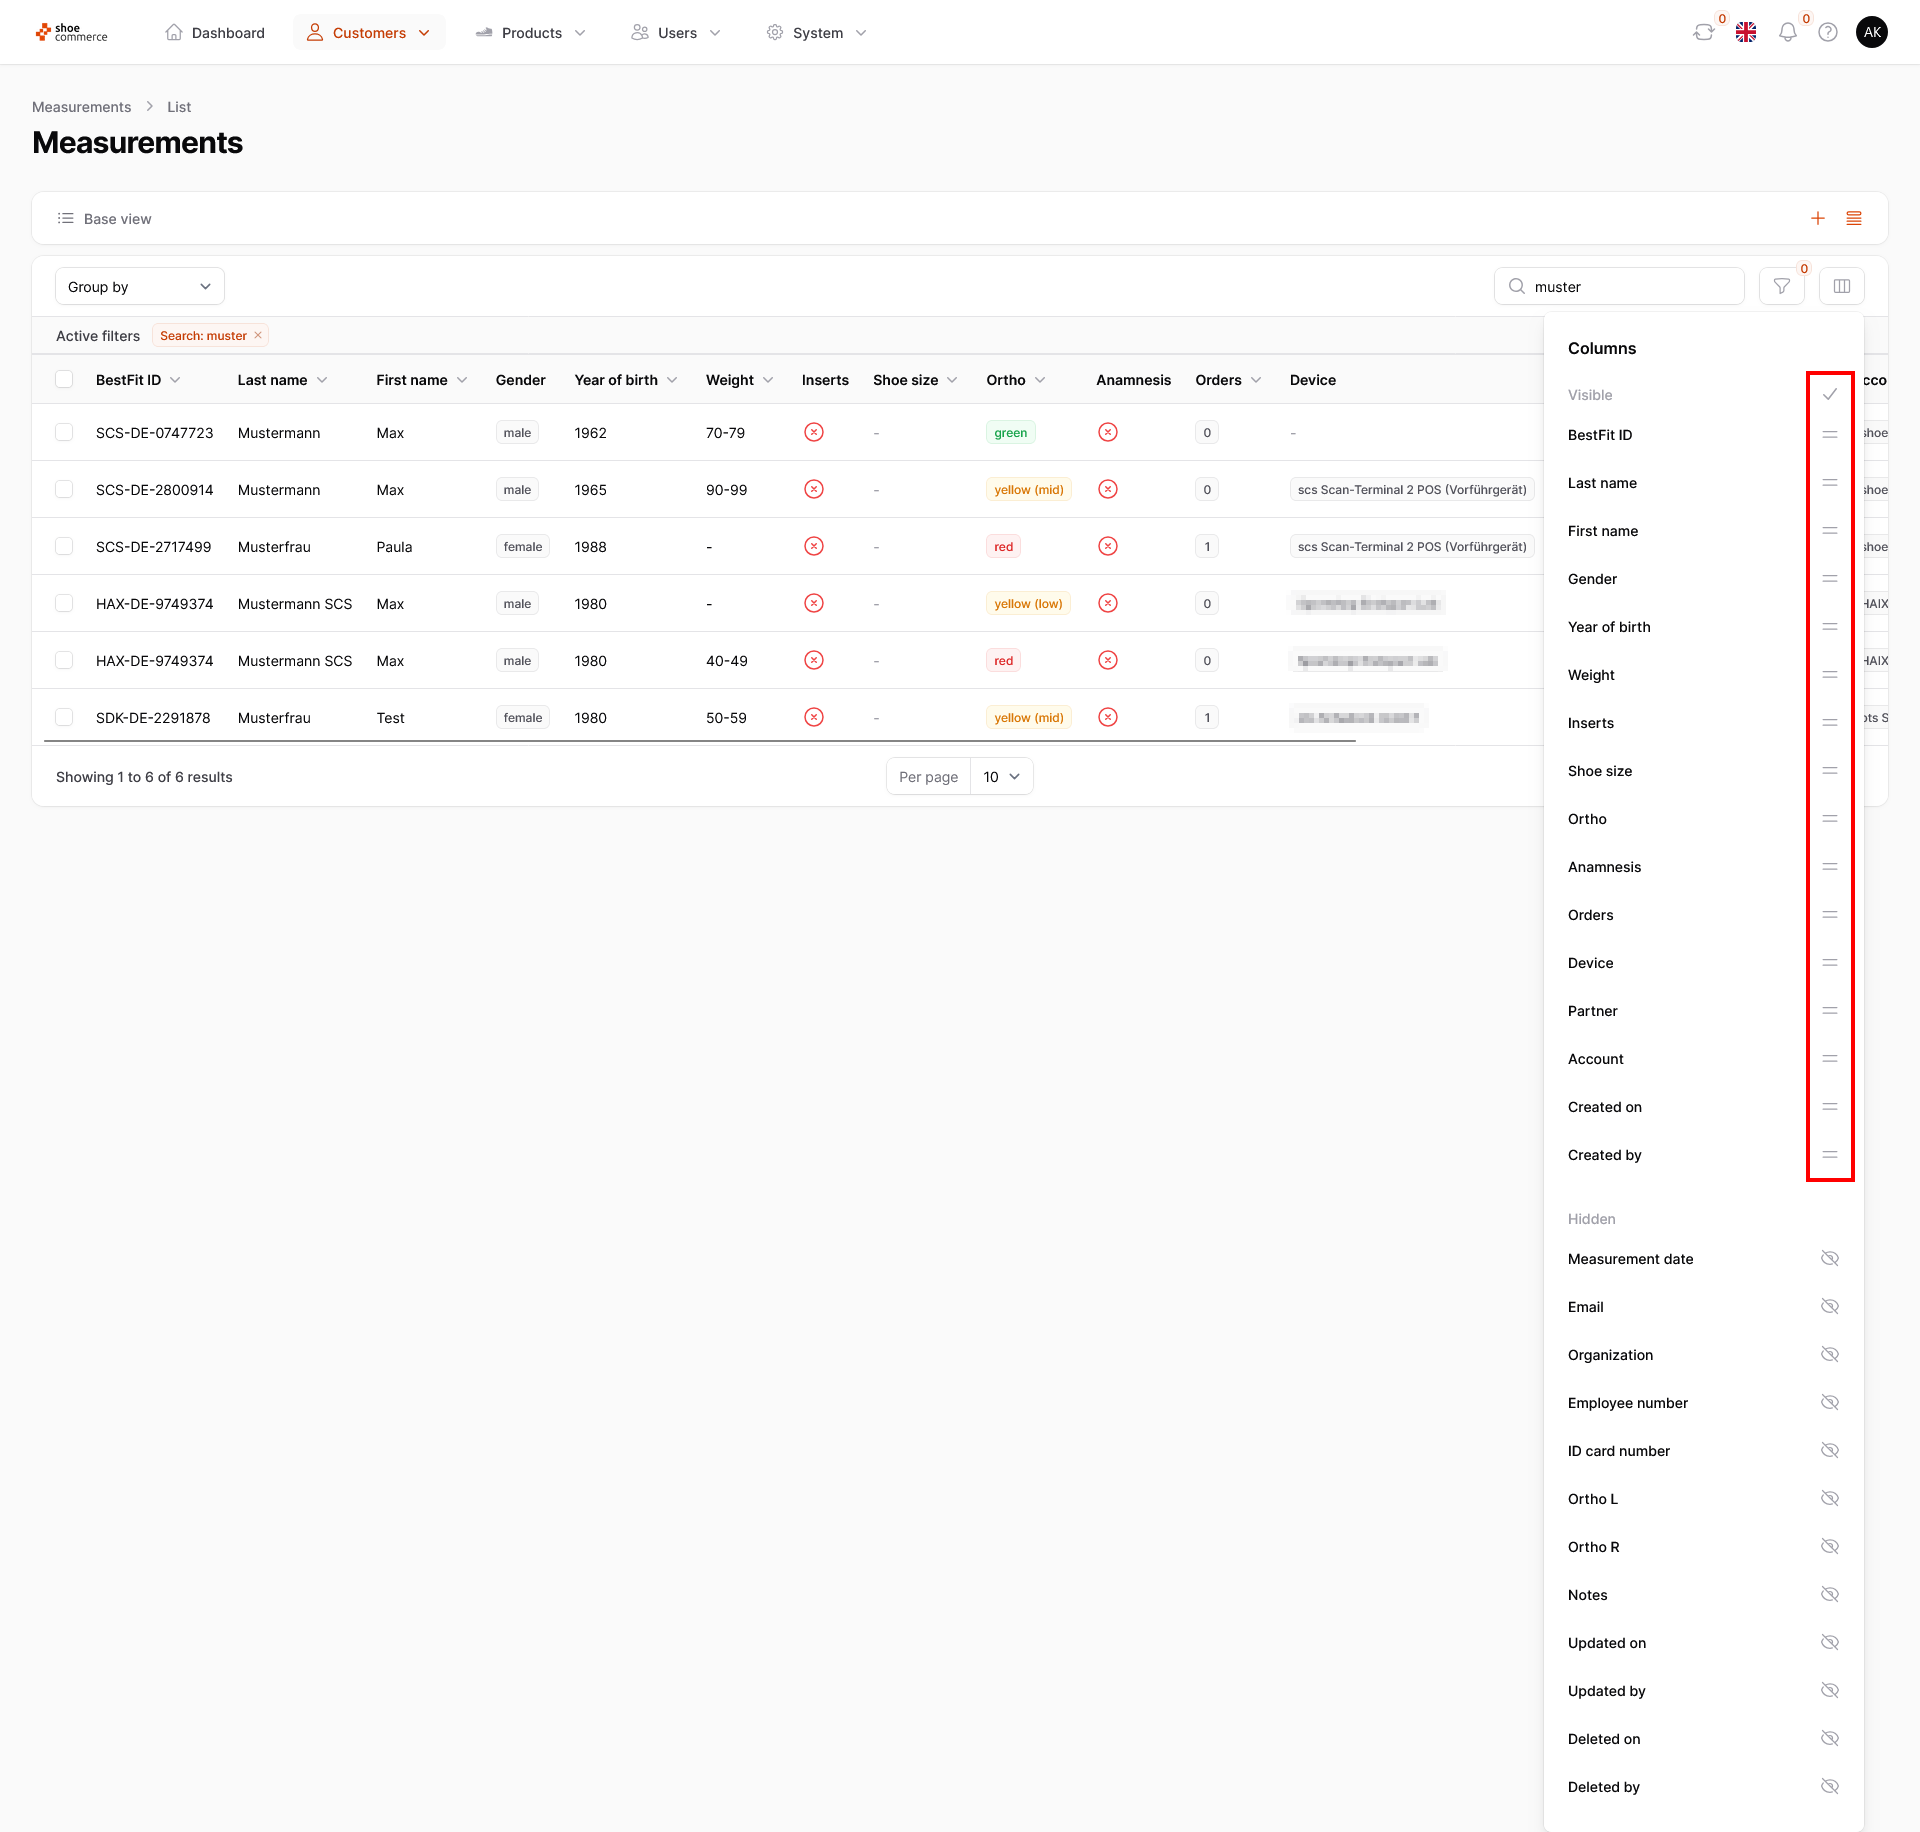
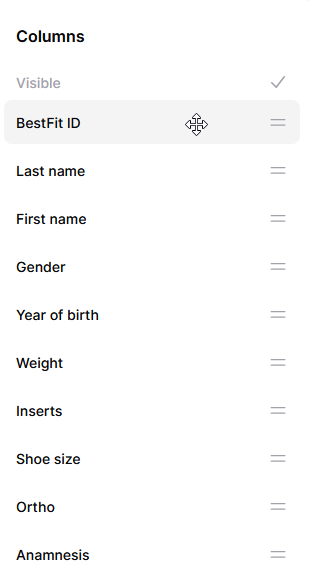
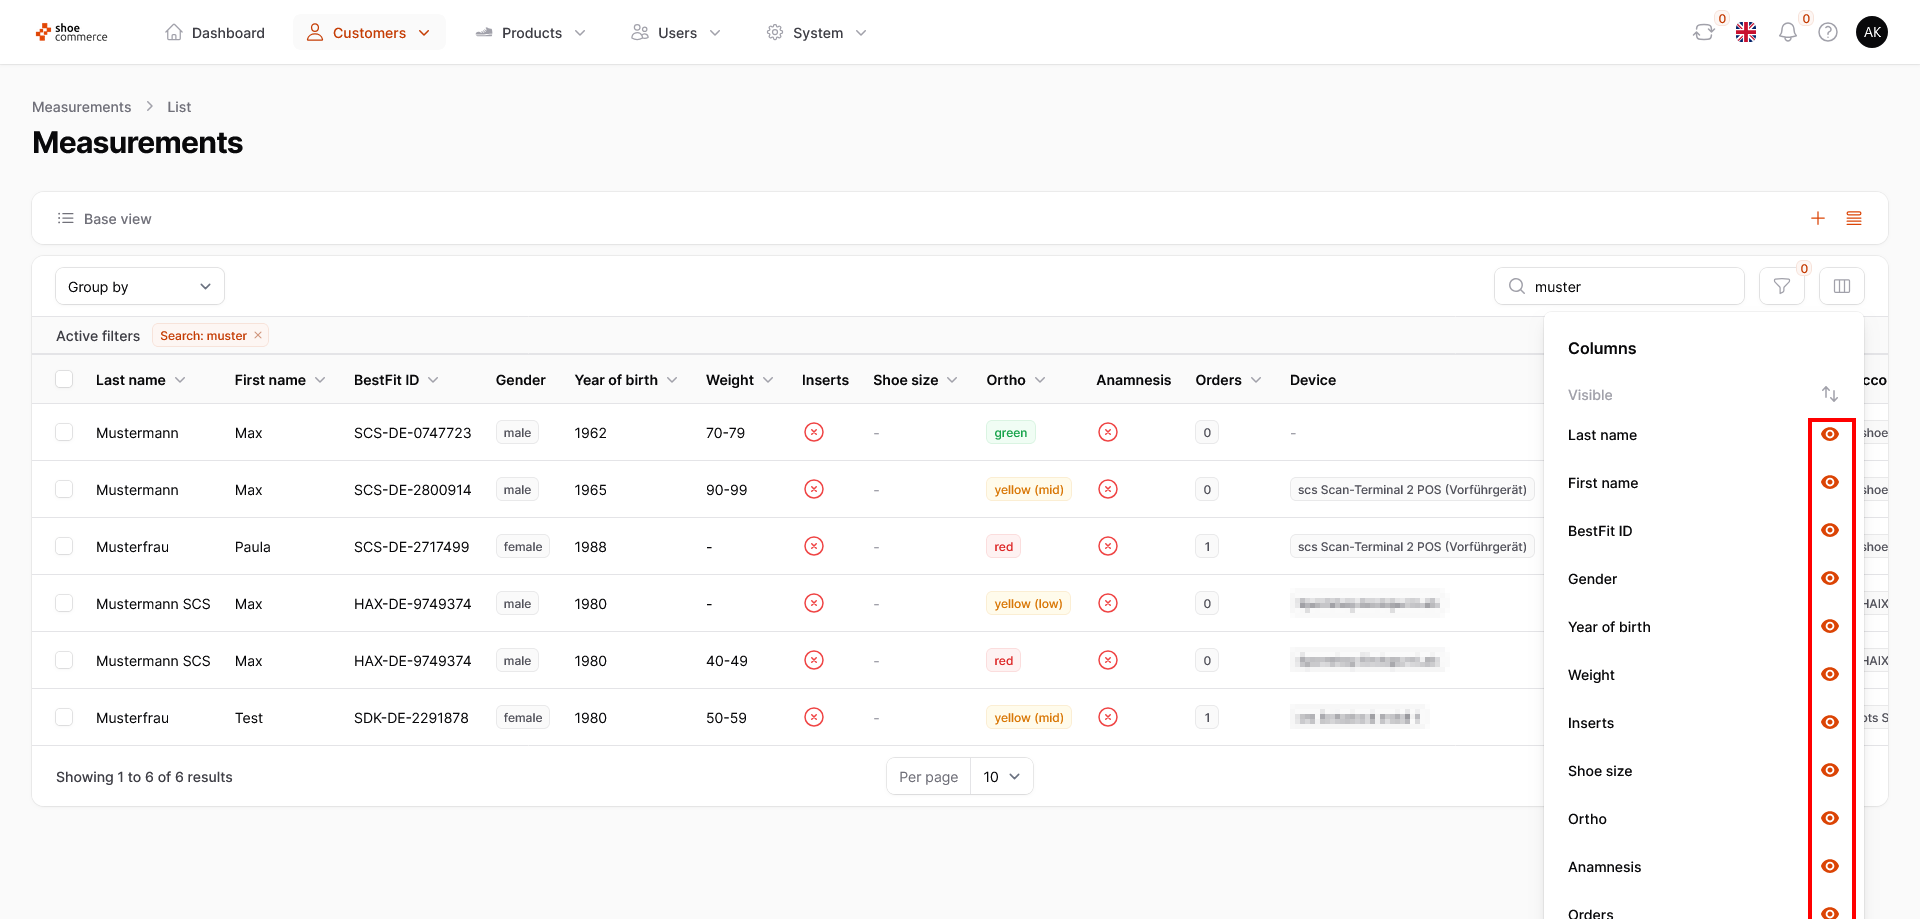
- In this example, we would like to move the “BestFit ID” column behind the first name (respectively in front of the “Gender” column). To do this, first move the mouse over the “BestFit ID” text displayed in the opened menu. The cursor will change to another symbol with four arrows. Now hold down the left mouse button and drag the column to the corresponding position. You can see directly in the backend that the column is now in the intended position.
Click on the gray tick in the menu to return to the sort view of the columns.
- To reset the column view as a whole to the standard template, please click on "Base view" in the top left-hand field. Please note that any changes you have made will be undone.
The changes you make here will remain saved until you log out. To find out how you can permanently adjust or save your column views, click here.